Tower Replacement Project
I want to put up another 40m beam. Not comfortable doing it on the Rohn 25G tower that I have.
September 2021
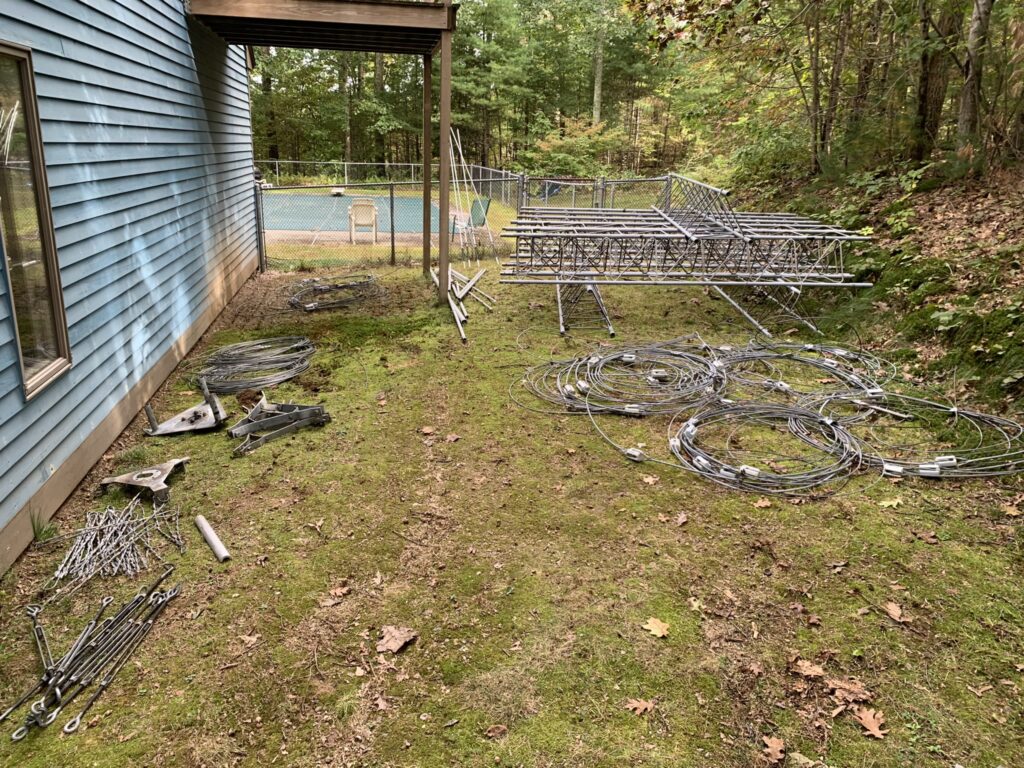
I had the opportunity to obtain 100′ of Rohn 45G from John K1AE. He lives about an hour from me. Making multiple trips and with a lot of help from YCCC club members, I was able to get the tower down over a 4-week span. I also purchased a Cushcraft 40-2CD that he had on the ground. I rented a U-Haul van to transport everything (tower, guy wires, beam) home.
October 2021
Took advantage of some nice Fall weather to touch up some rubbed and rusted spots on the tower so it was ready to go.
December 2021
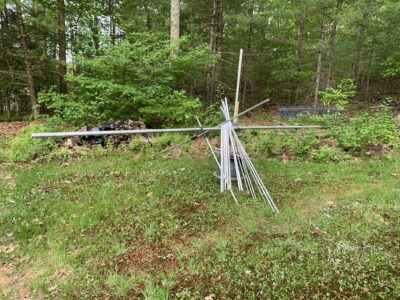
A tree falls over and lands on one end of the stack of 40-2CD aluminum. Argh. The only “safe” place for antennas is in the air!
April 15, 2022
With the 3-day Easter holiday, I solicited help on the YCCC email list. Received a lot of generous responses and offers to help.
Martin AA1ON, Mark KA1YQC, and John NN1SS came down and we got started. We made much more progress than I expected – removing all antennas and getting down to the 60’ level.
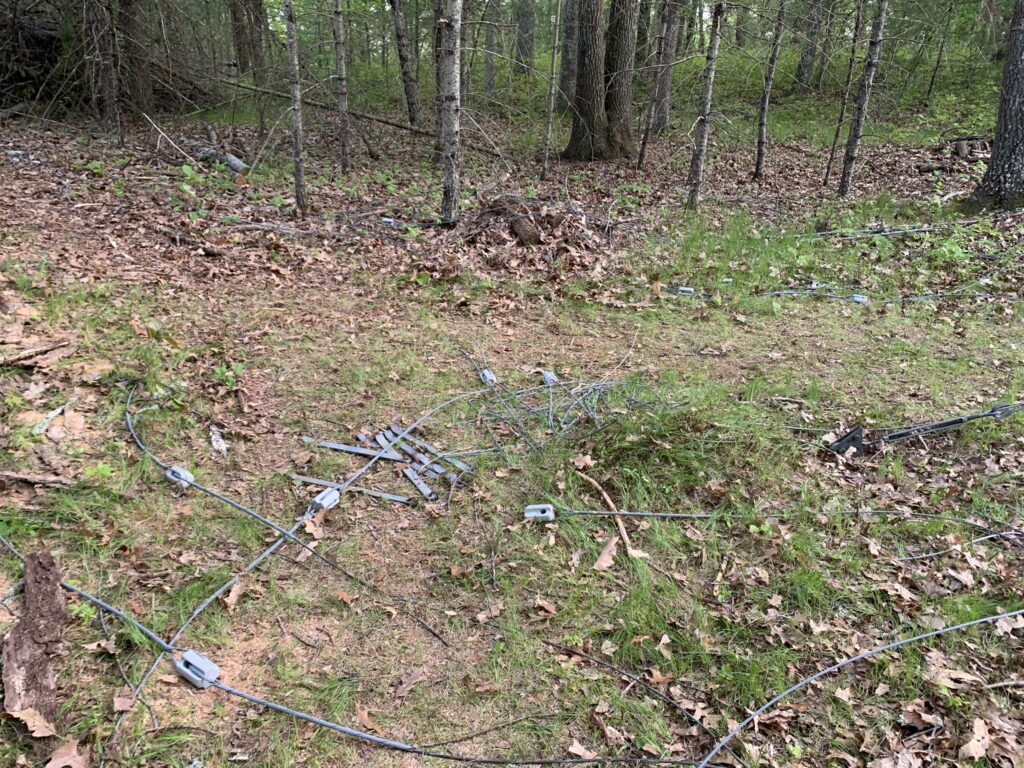
In order, we removed:
- 80m dipole (freeing it up from the tree that had captured the feedline)
- 80m 4-square that was hanging from ropes strung out from the tower
- 40m sloper
- 160m shunt feed
- Two 4-ele Cushcraft 10m beams that were side-mounted
- 30m dipole
- 6-ele 10m beam
- Rotator
We corkscrewed the beams down the tower. 10 meter beams are so easy to manipulate…
Weather was sunny and nice, except for the occasional gusts over 25mph. Nothing like being 80’ up with the top set of guys removed and the wind deciding to blow harder.
One lesson learned. When a tower is a bit floppy, it is hard to get the sections to wiggle apart. NN1SS brought a Tower Jack and that saved the day. Sections that were more stable close to a guy wire wiggled right apart.
After everyone left, I took advantage of the nice weather to prepare the guys at 60′ for removal and installed the temporary guys at the 10′ level.

April 16, 2022
When I installed this tower in 1994 I had purchased a 1/4″ wall 12′ steel mast. Weighs just over 100 pounds. Never used it. Has been imprisoned in the tower ever since. I was a bit worried if the two of us would be able to handle it.
Martin arrived about 9am, and we had the last 60’ down in about 2 hours. We pulled the mast out of the tower when we got to the 20′ level. I won’t say it was easy, but the two of us managed it without incident.
We were so far ahead of schedule that we had just finished when Ken WO1N arrived. I feel bad for letting him make the drive down.
I am now without antennas for 80, 30, and 10 meters. The crazy things we do to be just a little bit louder. 🙂
April 19, 2022
Made a run to visit Dave K1ZZ and pick up a 40-2CD antenna that he had been storing for Mark K1RO. “Storing” for the past 25 years! The antenna was in great shape and, after some hardware replacement, will soon be at the top of the new tower.
April 21, 2022
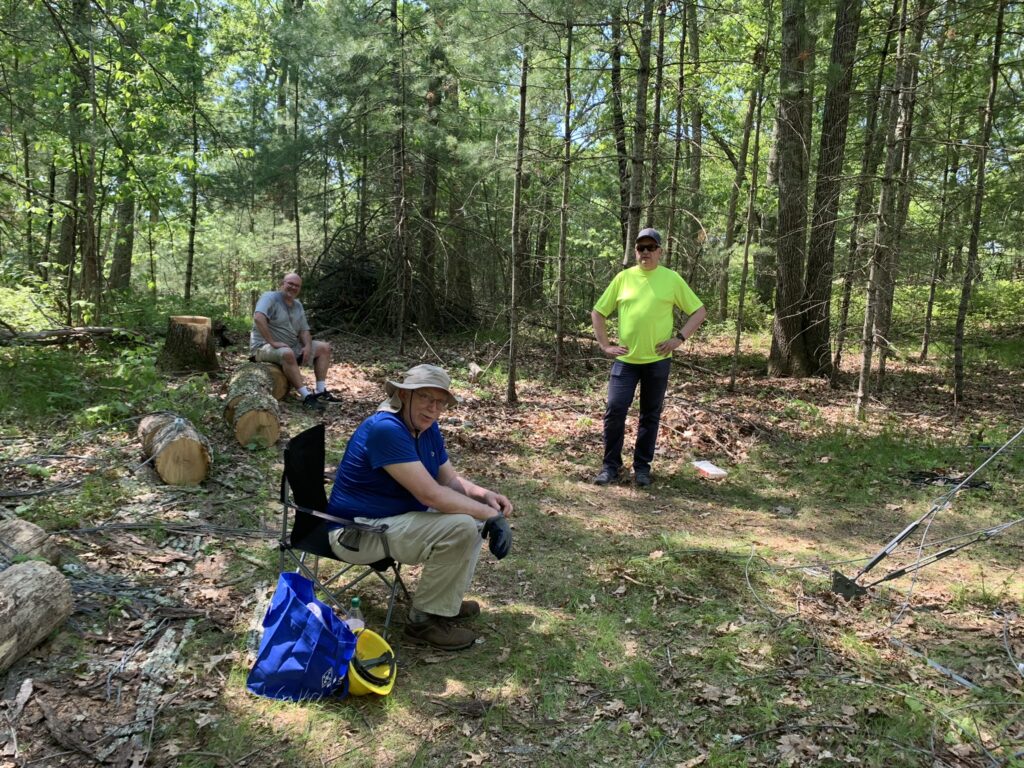
My friend Ron brought over his chainsaw and we took on the job of removing trees that had been growing into the guy wires. Always afraid of cutting down trees near a tower, so wanted to take advantage of this opportunity to clear things out a bit. Was perfect weather for getting the job done.
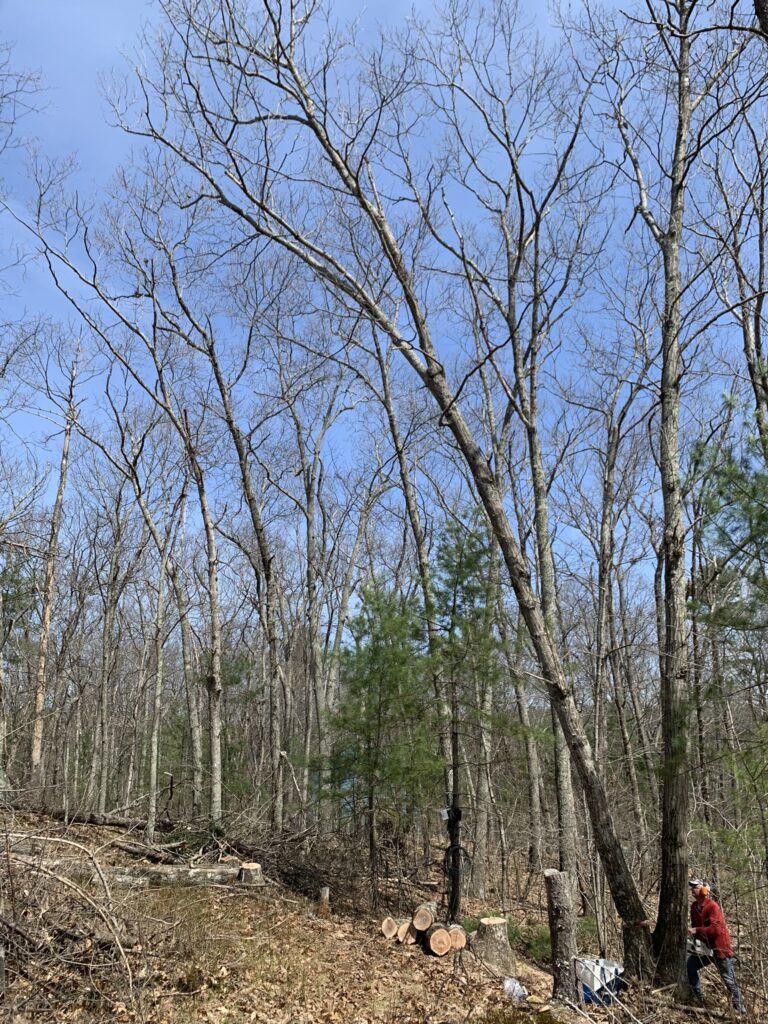
These were big trees. Glad to get them down before the leaves came out.
April 23. 2022
Another great day to get some work done.
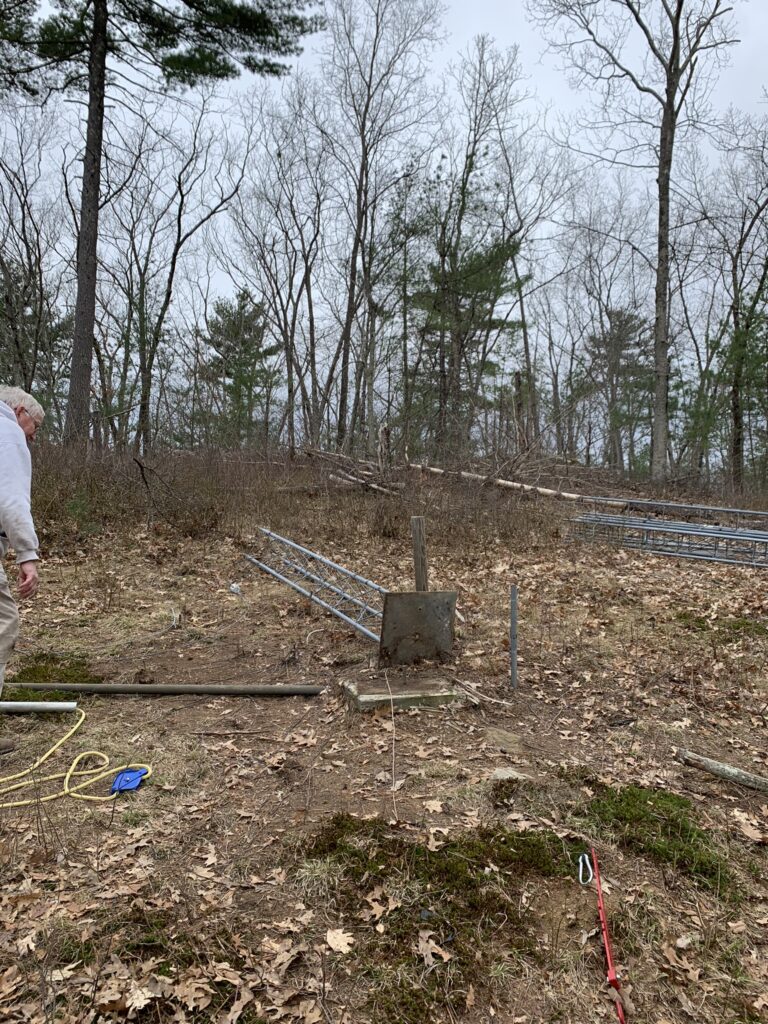
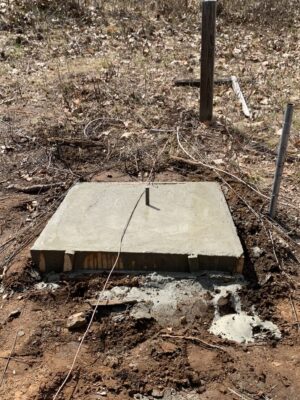
The original tower base was big enough to support Rohn 45, but I wanted to make the base a bit bigger to provide more support. Let me just say it is a long carry to get concrete from the driveway near the house to the tower base. A 350′ carry that is uphill all the way.
Mission accomplished.
May 3, 2022
Spent some time taking the 40-2CD from K1RO apart and cleaning it up.
May 17, 2022
After two weekends lost due to some international business travel, it was time to get back to work. Started making up the Phillystran portions of the guy wires. Hard to believe DX Engineering gets 270′ of Phillystran on that small spool!
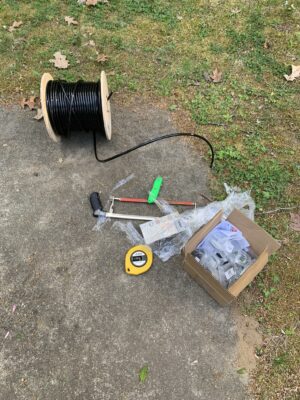
Will use Phillystran on the top two sets of guys. 60′ for the top set and 30′ for the middle set. Will go with steel wire broken up every 28′ for the bottom set. Why 28′? Because that is the length the guy wires from K1AE were already made.
May 20, 2022
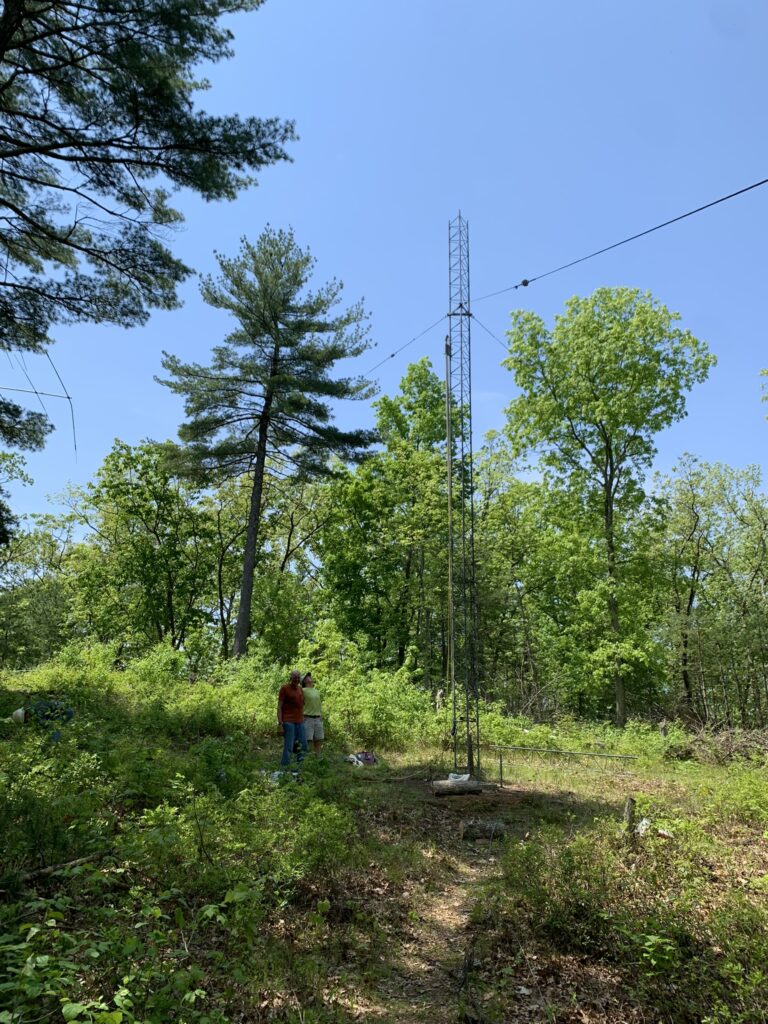
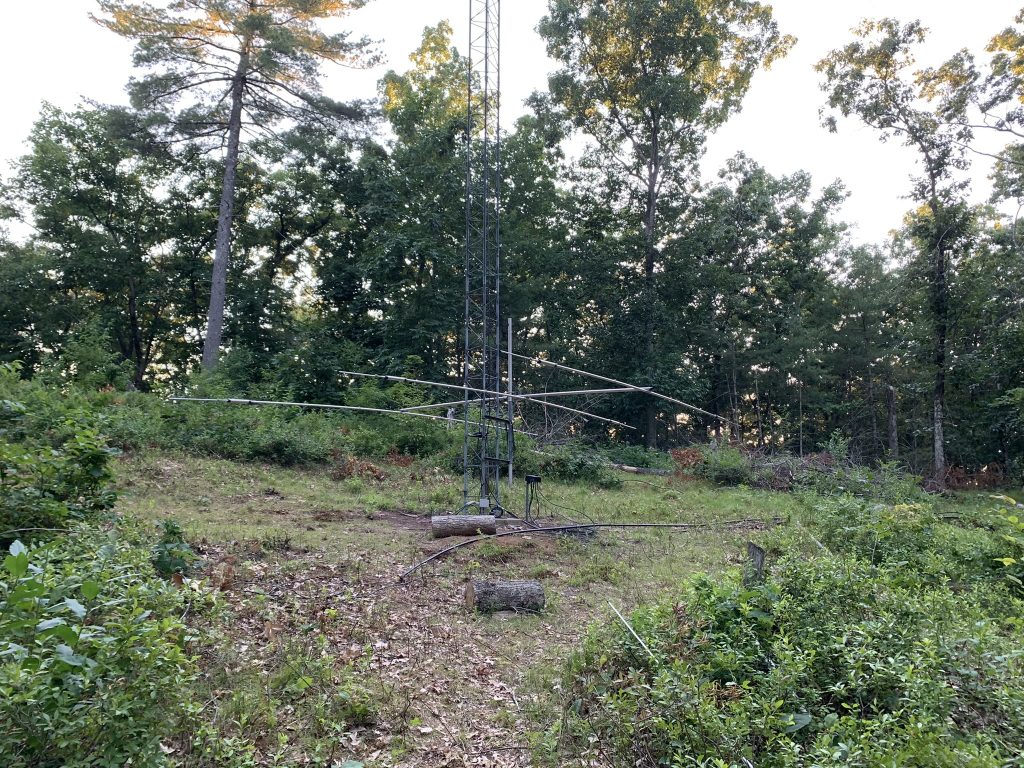
Mark KA1YQC came over and we hauled a few Rohn 45G sections up to the tower location. Then we put up the first section of the tower and installed the temporary guy wires at the 10′ level. Made everything tight and straight.
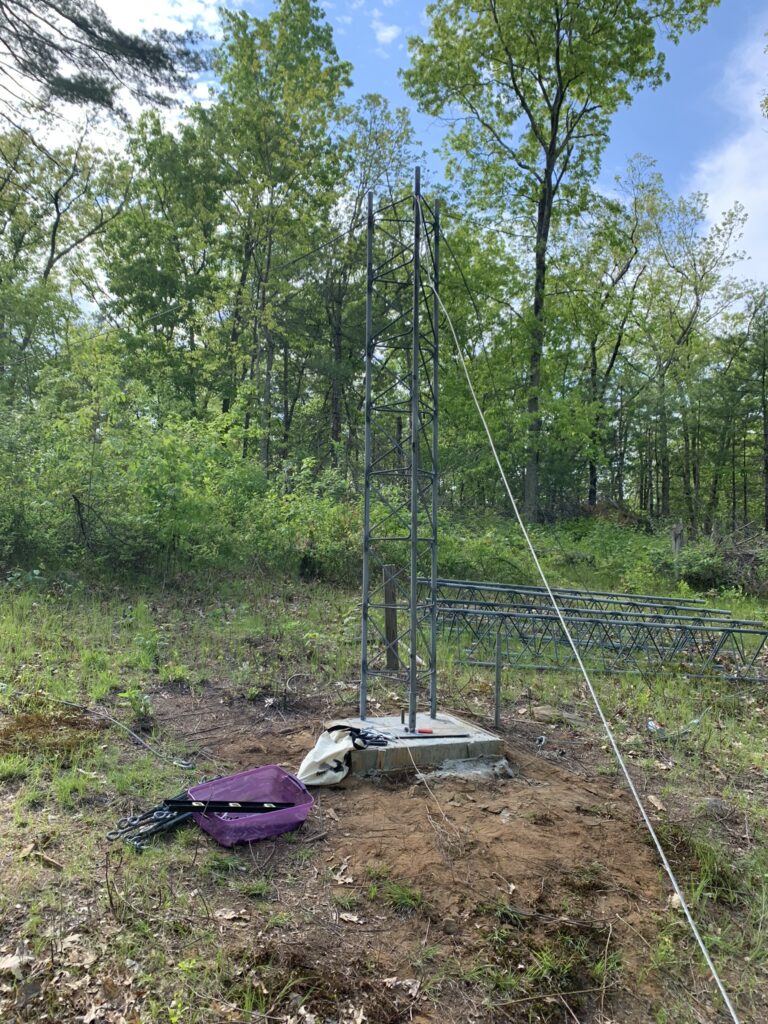
Spent the rest of the evening wrangling guy wires. Added the steel portion to the Phillystran. Replaced a few pieces of guy wire that showed signs of age.
Ready to start stacking tower for real tomorrow.
May 21, 2022
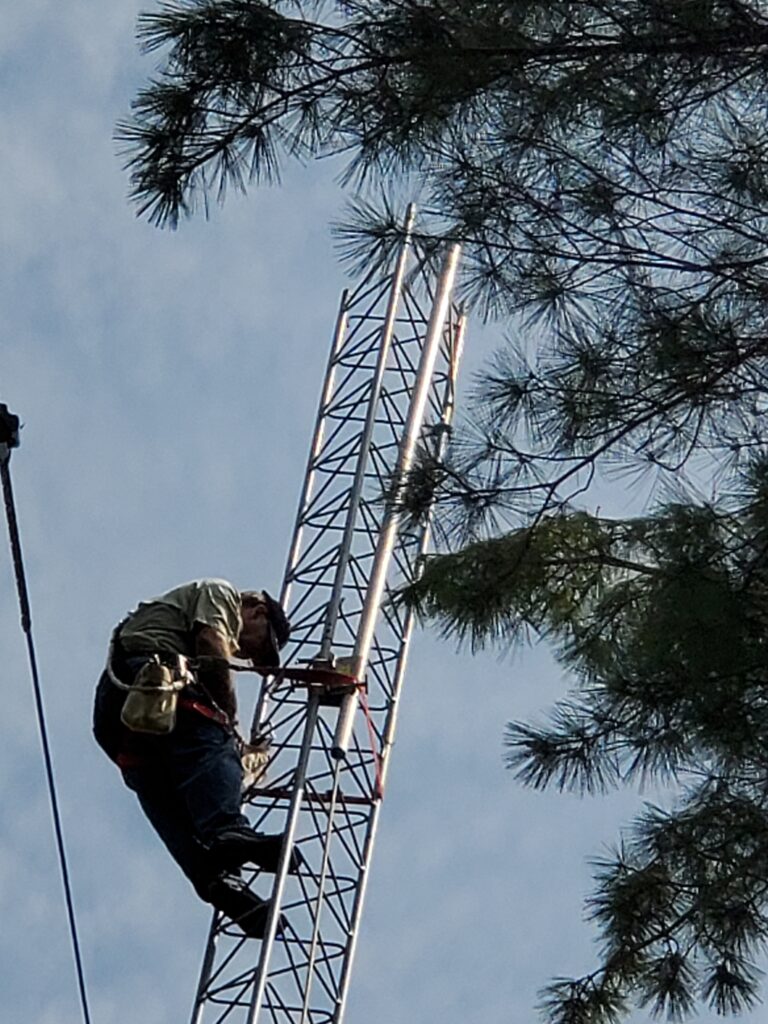
Joe KM1P, John KF1KI, and Spence AB1HO arrived to a cloudy and cool morning around 10 am. We quickly got 4 sections stacked up and the first set of guys attached by a little after noon. The clouds cleared and it became noticeably hotter. We finished tightening the first set of guys and removed the temporaries. By 1:30 it was hot and we had enough.
One thing that slowed us down was guy wire lengths. The steel guys were broken up every 28 feet. When we pulled them out to the North and Southwest guy points, the insulator landed right at the turnbuckle. We had to undo the guy grip and change the length of the final segment from 28 to 22 feet. I probably should have done more math and anticipated this issue in advance…
May 22, 2022
It was a sunny warm day when Martin AA1ON, Mark KA1YQC, and Lars KE1J arrived around 9 am. The forecast was for temperatures into the 90s. I was a bit surprised everyone showed up!
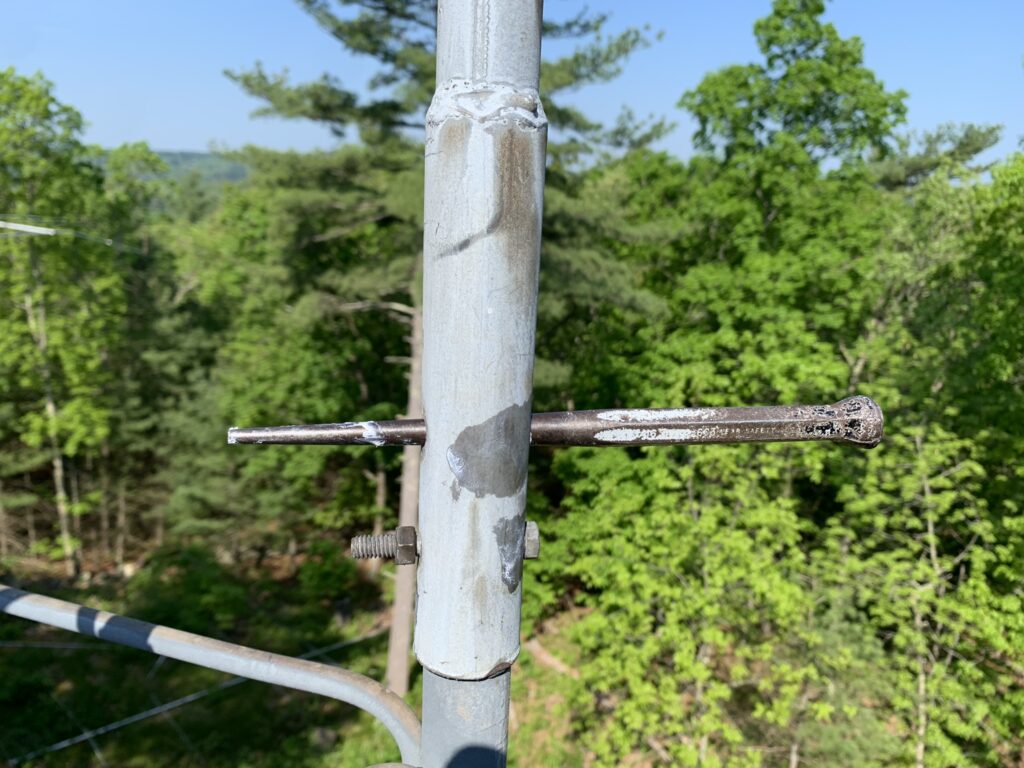
Each new section was the same dance. Set up gin pole. Ground crew cleans out tower legs and puts in White Lithium grease. Pull up section. Get the sections to mate. Put in the small bolt for each leg (Rohn 45G has a large bolt and a small one for each leg). Then put in the large bolt for each. A drift pin is an essential tool for getting the holes to align. And a hammer to help the bolts power through the holes. Then tighten the bolts for each leg. Reposition the gin pole and repeat.
We added 3 more sections, reaching the 70′ level. The second guy bracket was at 65′. The second set of guys had 30′ of Phillystran and then steel broken up with insulators down to the anchor. There were two guy wires where an insulator happened to be in the wrong place and required modification. We methodically made our way around the 3 guy points tightening turnbuckles while confirming the tower was still straight. The Loos tension gauge confirmed the guys were at the proper tension.
We took a short break as it was starting to get very warm.
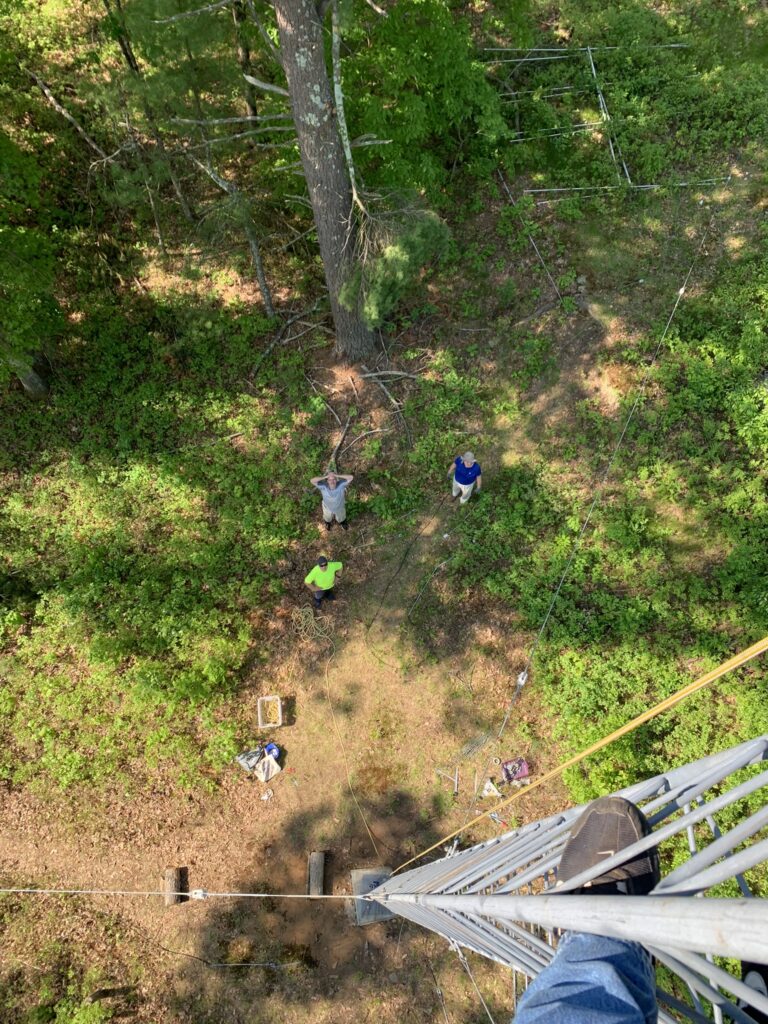
Back up the tower to do the next 3 sections. We had decided to put the rotator plate and the guy bracket on the top section so I wouldn’t have to assemble them on the tower. Great idea, but the extra weight, and the 90′ pull, almost put the ground crew into the red zone. Of course, when the section got up there, it didn’t want to mate to the previous section. This required another heave to pull it off so I could spin it and try again. Oh, did I mention the wind came up while this happening?! I tried not to notice the subtle rocking that was taking place without the top set of guys in place yet… Nothing better than to get the legs aligned and then hear that satisfying thump when the section drops down to its proper place.
The ground crew did a great job. The breeze I was feeling on top of the tower was not so much down at ground level. The guys were pretty spent when we decided to stop.

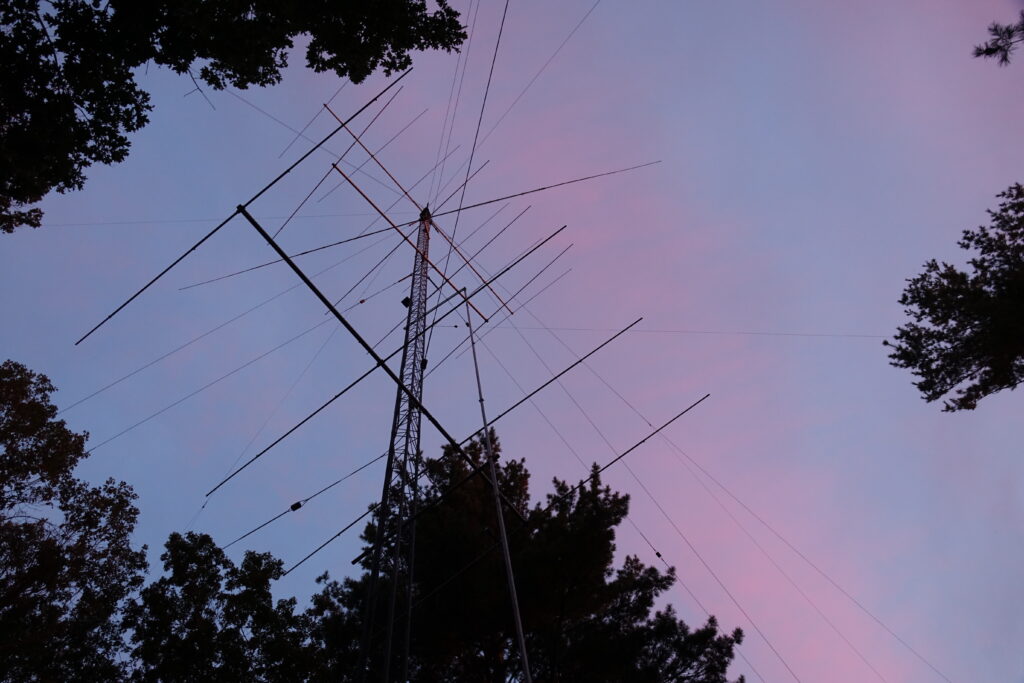
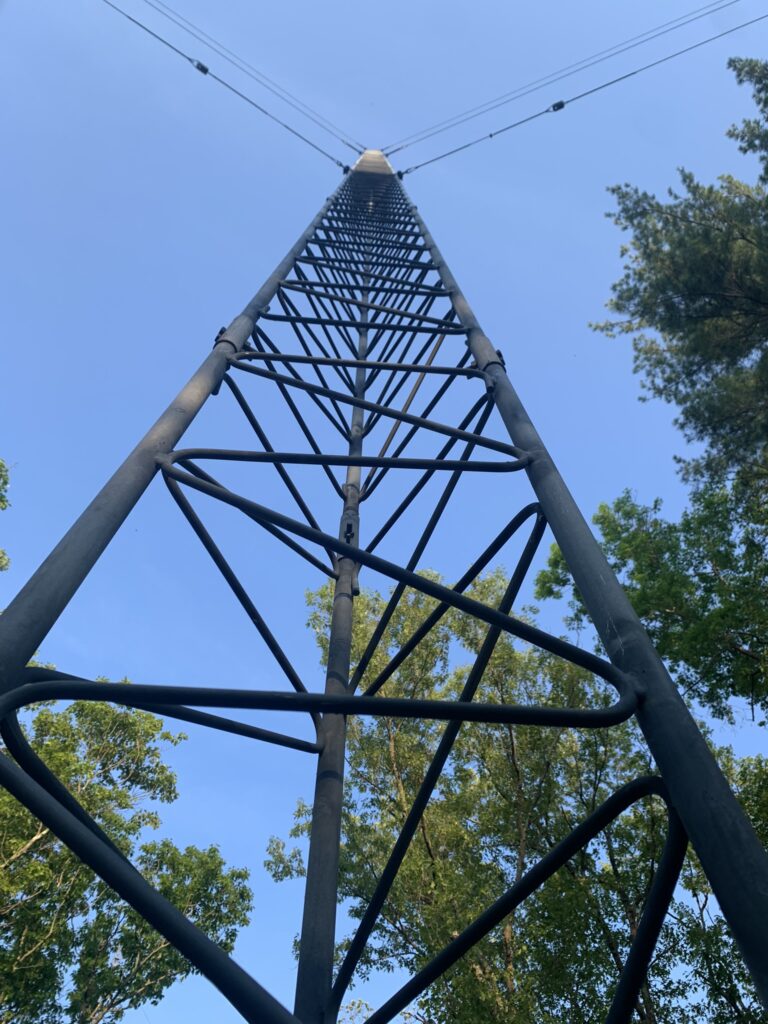
An empty tower is like a blank canvas. Ready for something great to be created. It was a very good day of progress. Tower only needs to have the top plate installed to be complete.
June 1, 2022
Finally back to working on the 40-2CD. The main work was to replace the aluminum truss Cushcraft provides with some stainless steel cable and hardware.
June 6, 2022
Guy wire day. Focused on keeping the tower straight while also getting each guy wire to the proper tension as measured with the Loos Tension Gauge. Had one guy wire that needed to be adjusted as the turnbuckle had run out of room.
June 7-9, 2022
Rebuilding the 40-2CD. Carefully measured out each piece. Added reinforcement tubing inside the elements as possible. A dab of SS Jet 30 at each joint for long term connectivity. Also a stainless steel sheet metal screw to keep the pieces from coming undone.
I could not get the driven element pieces off of the center insulator. The only way to get the reinforcement piece in was to measure, mark it, then drive the piece of aluminum down the inside of each element. Had to be careful not to push it in too far as there was not going to be a way to get it back out. Added additional reinforcement to the first few element joints. The element is much less floppy than before the modification. It’s not the full W6QHS treatment, but hopefully, it helps with long-term survivability.
June 10, 2022
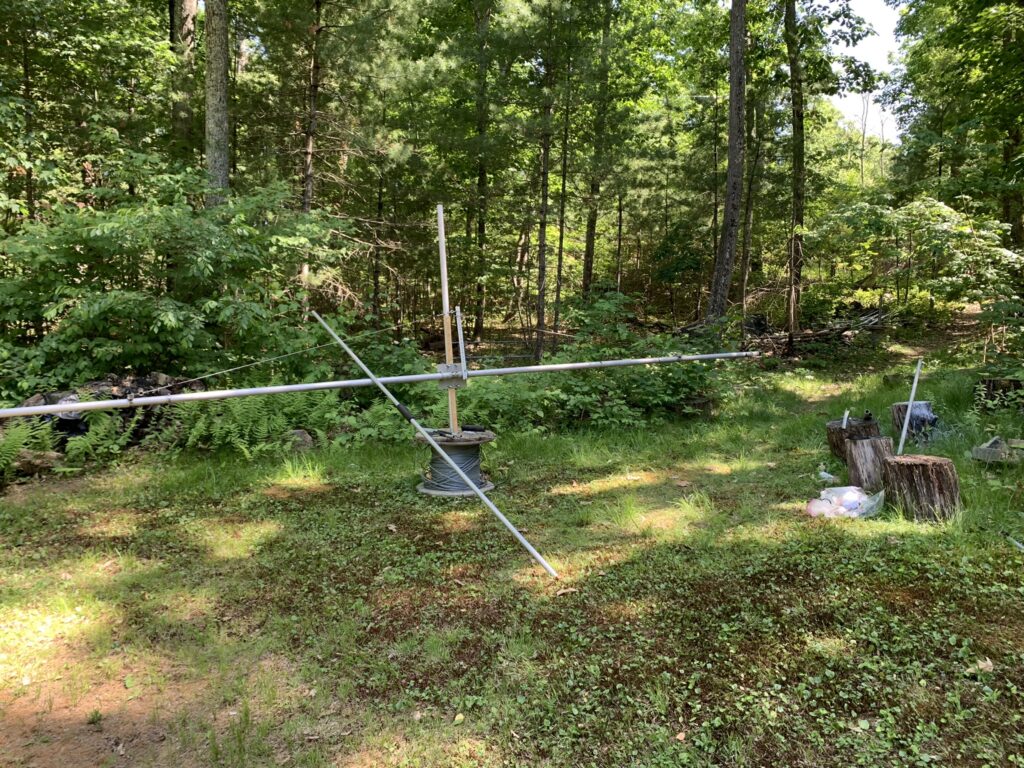
Hauled the boom and elements up to the tower. Assembled everything to make sure I had not missed anything. The 40 is ready.
Jun 11, 2022
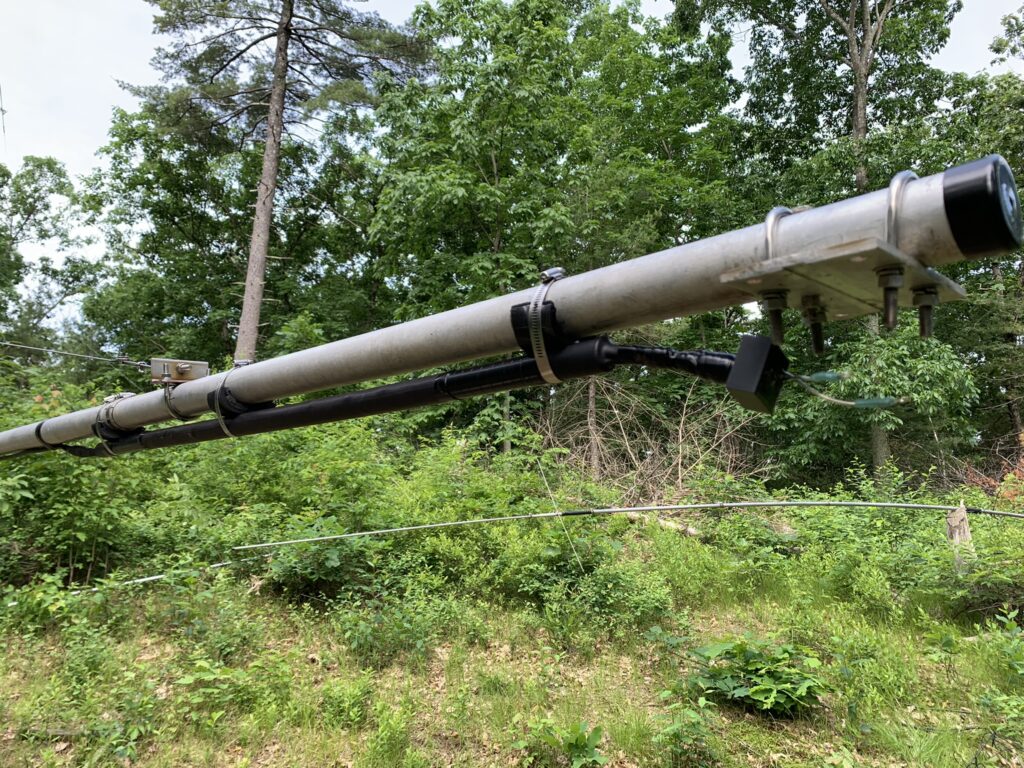
I was up early making final preparations for the 40m beam. Got the choke installed and enough feedline to get just above the top plate. I have learned the hard way not to end up with a coax joint in the middle of the rotator loop!
Trying something different with the choke. K3LR has reported some improvement in the choking impedance if the choke is separated from the boom. I put the choke inside PVC and used some rubber spacers to get it about an inch away. Maybe not quite enough separation, but good mechanically.
SWR looks good, but hard to know with the antenna so close to the ground.
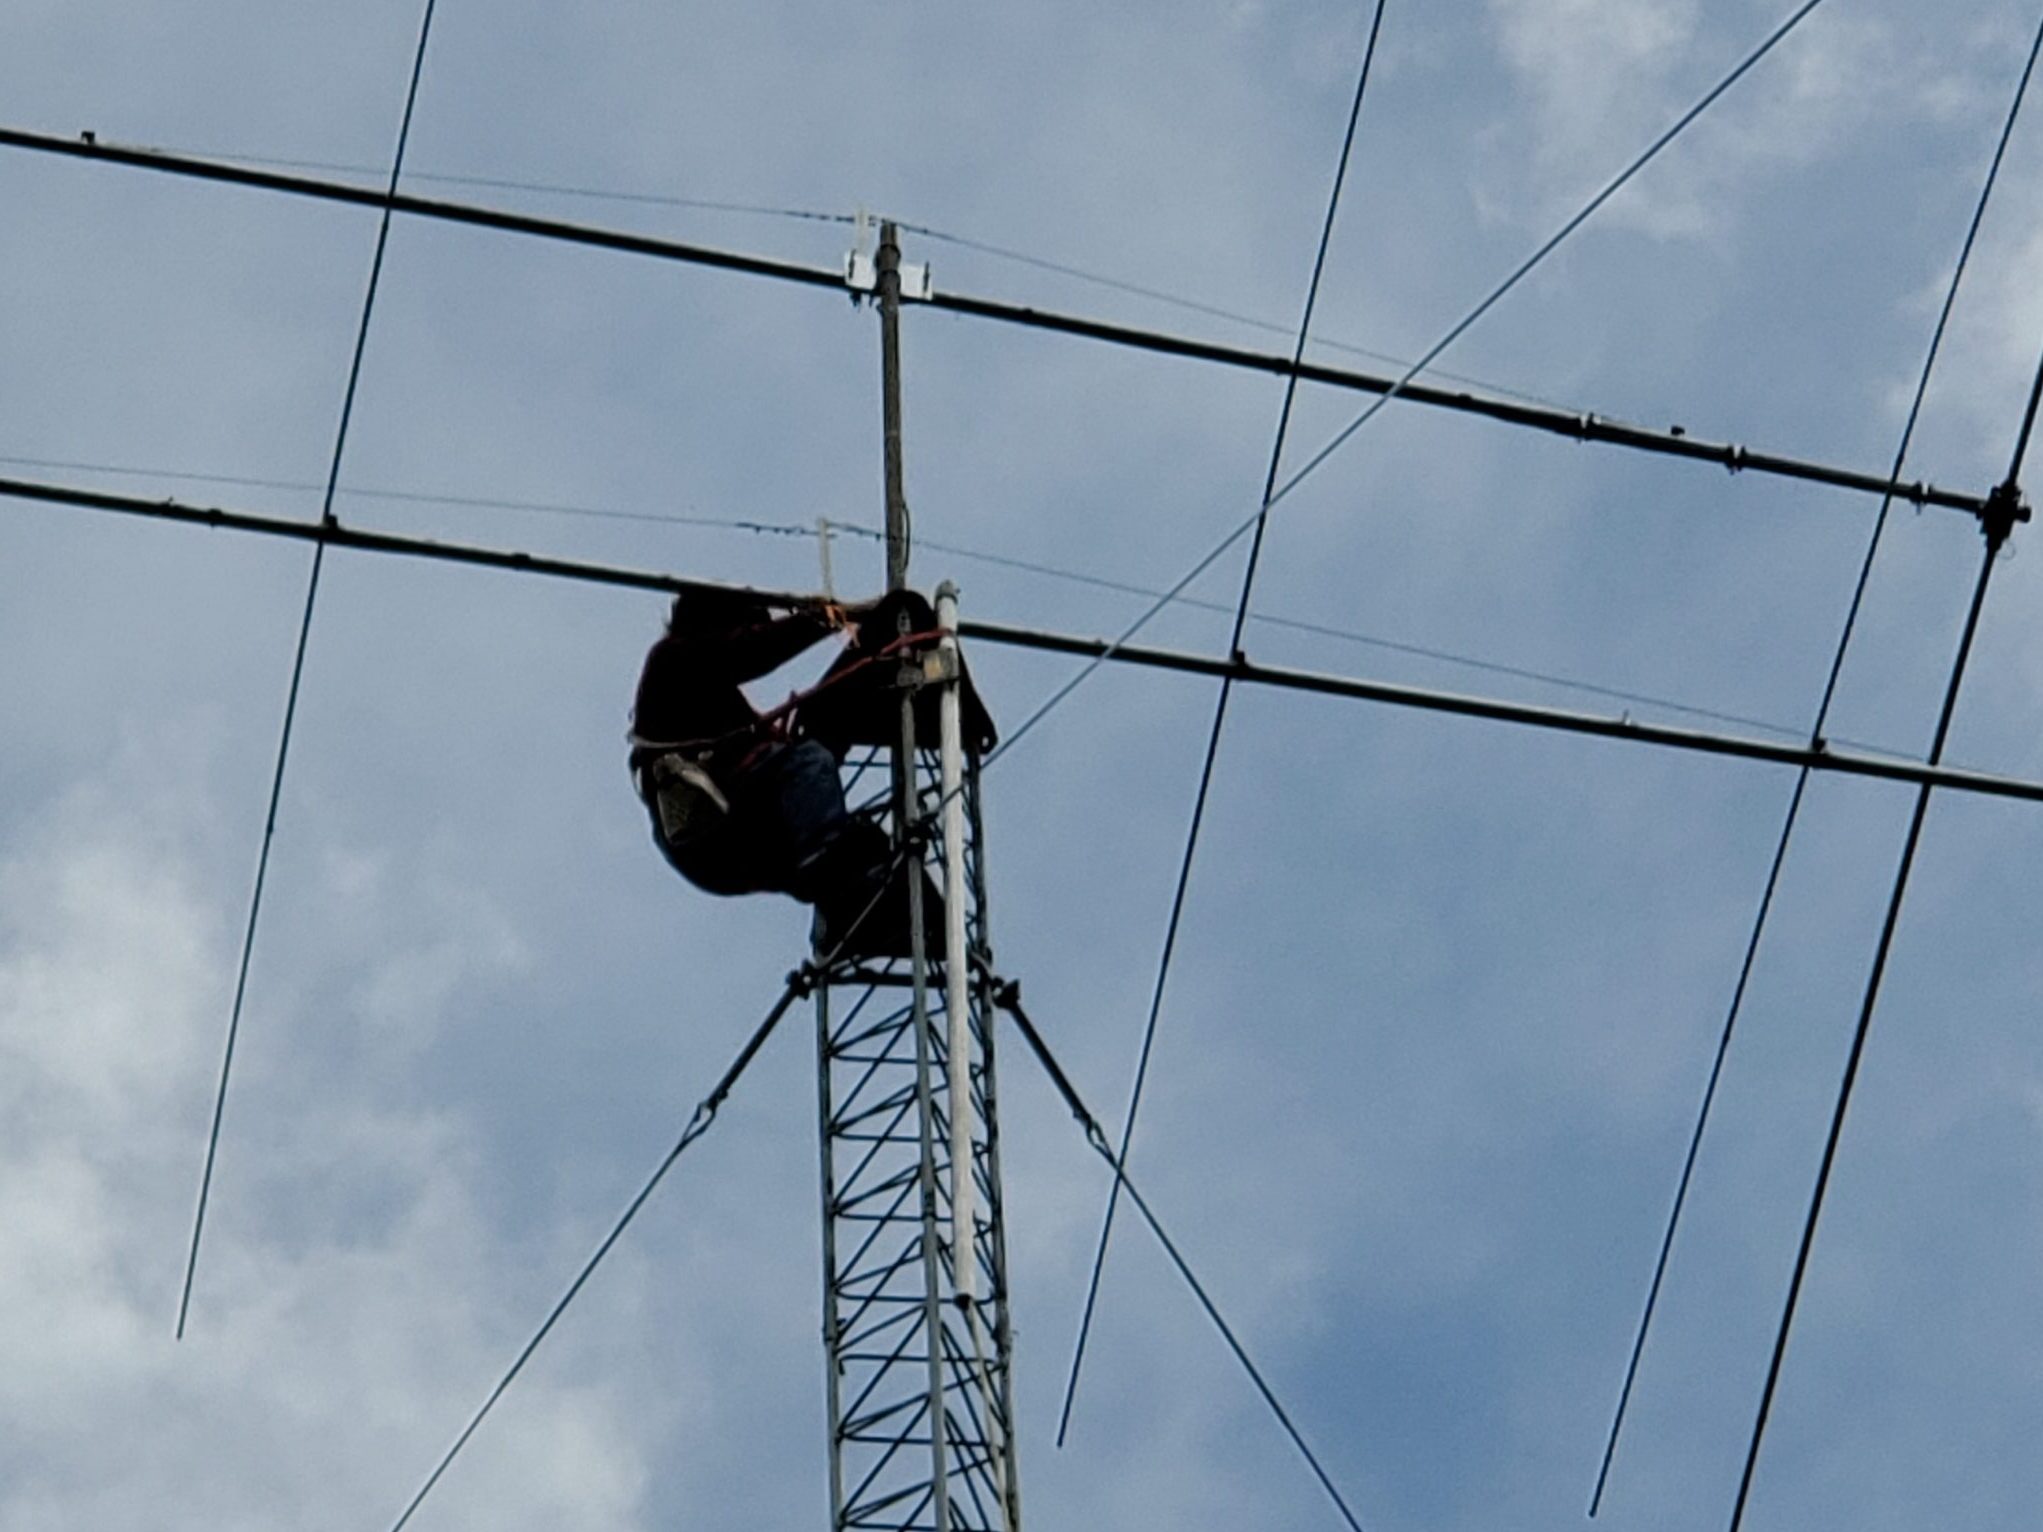
Martin AA1ON, Mark KA1YQC, and John KF1KI arrived around 10am. A bit of a delay as I made multiple trips back to the house for forgotten tools or parts. Started climbing around 10:40am.
First order of business was to install the top plate.
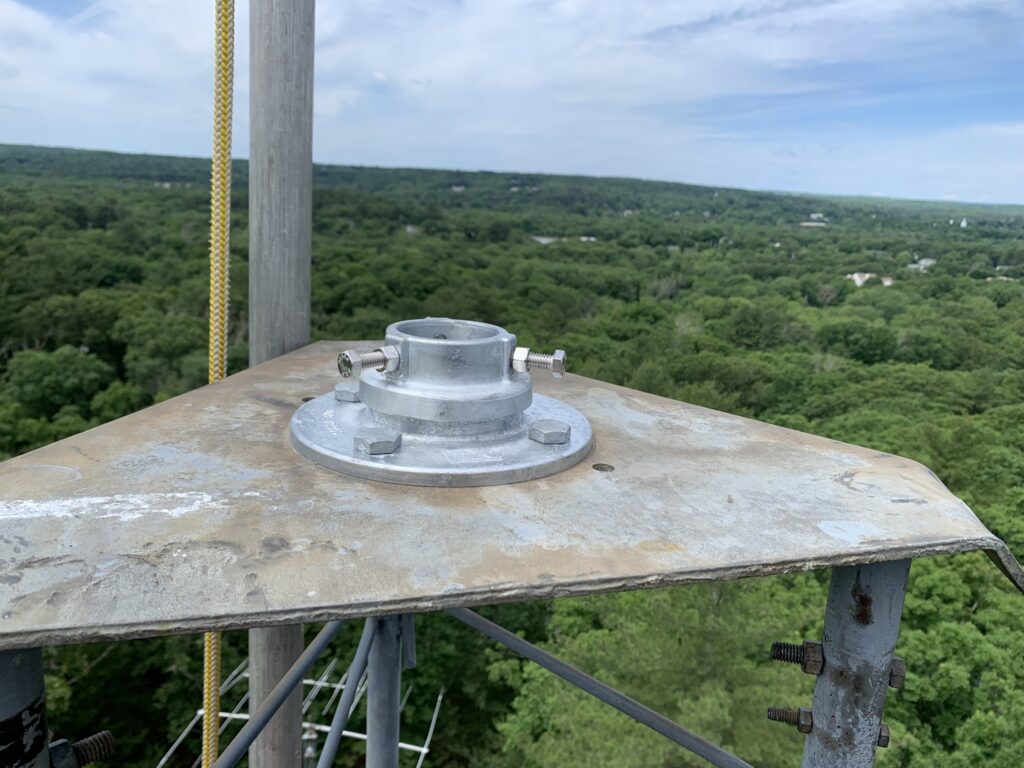
I had not fully accounted for the size of the rotator when I selected the original location of the rotator shelf. Took a few minutes to move it down one rung.
Then it was time for the mast. The ground crew hauled it up the tower without incident. They said it was much easier than the top section with guy bracket was! It was then that I discovered another engineering error on my part… the clamp holding the rope onto the mast hit the gin pole pulley with another 4″ of needed height still to go. Arrrggh! Luckily it was just close enough that I could lift the mast onto the top plate. After several tries and some colorful language, I was able to lever the mast up to the thrust bearing, then the bolt, then to the rotary part, and finally, with one huge grunt, lifted it over the edge and into the hole. Mission accomplished! I was determined not to make the guys have to lower the mast and lift it again. But, it was probably not the smartest approach. Next time, measure first!
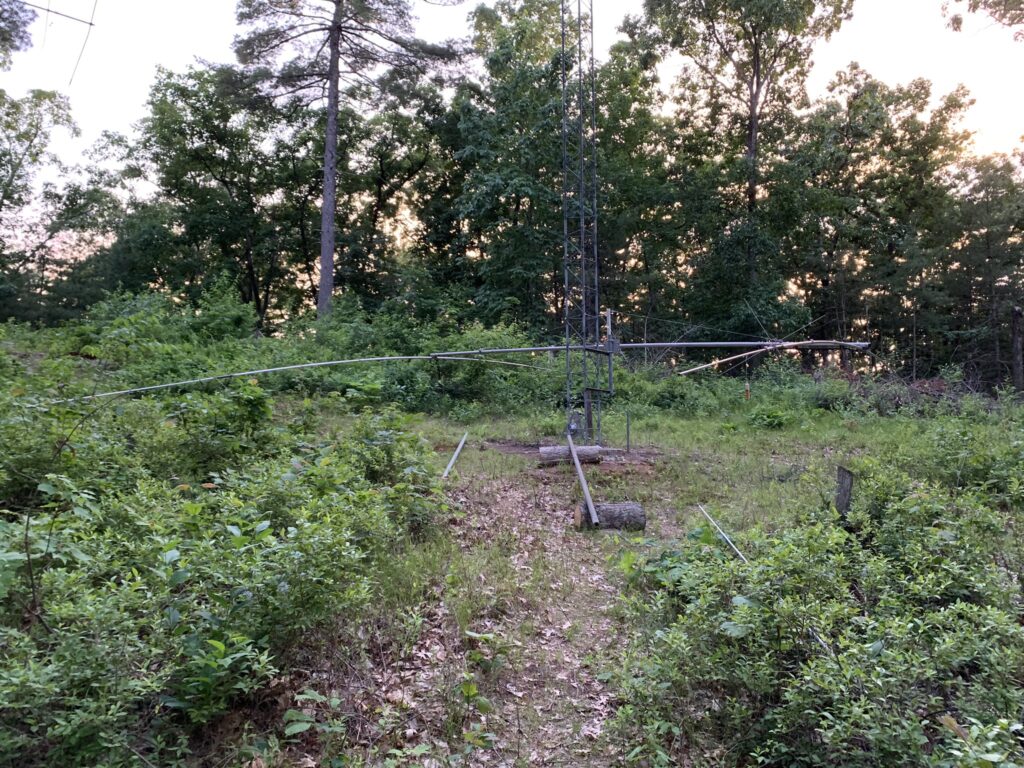
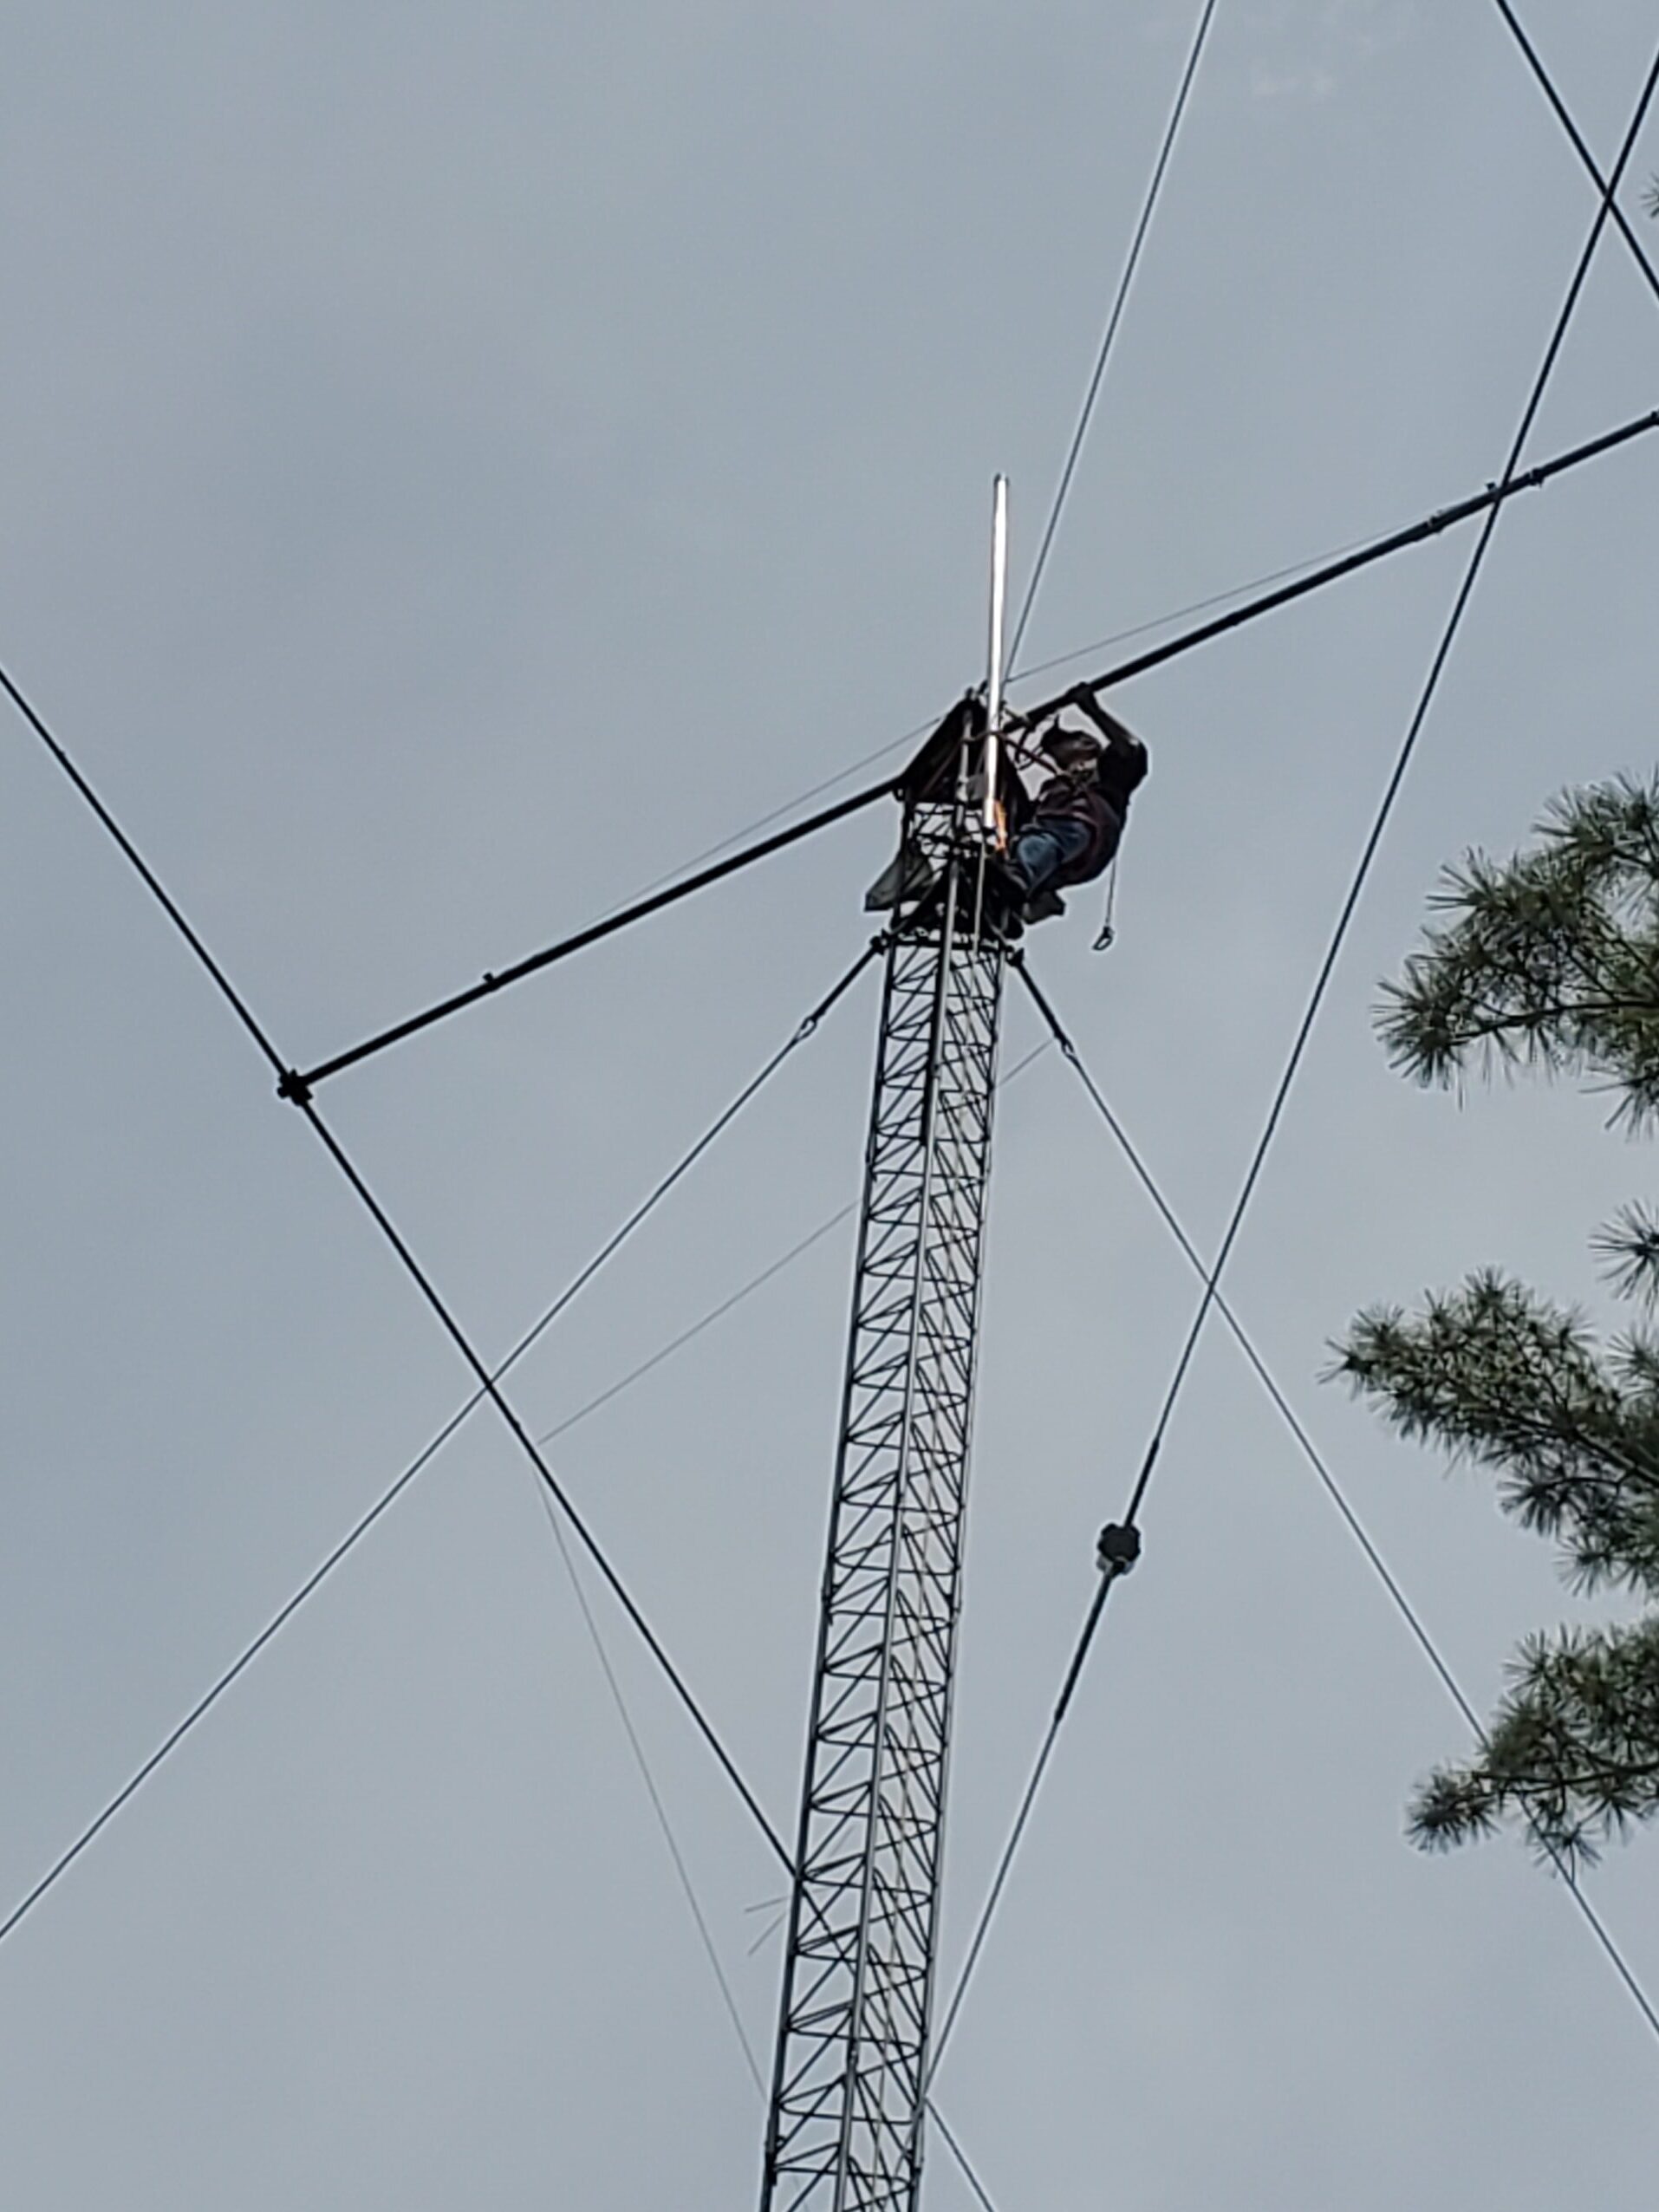
Next up was to raise the 40-2CD. There is a pine tree that reaches in just enough that I wasn’t sure I would be able to easily corkscrew the antenna up the tower. Those capacitance hat rods on each element seem to always find any obstruction. I made the decision to assemble the beam on the tower. We pulled the driven element up first, then attached it to the tower with a strap and carabiner. Then repeated for the boom and reflector. I then attached the elements to each end of the boom.

Once the elements were attached, it was simply a matter of rotating the antenna to horizontal and dropping it onto the mast. The team on the ground was very impressed with the maneuver and how well it worked out.
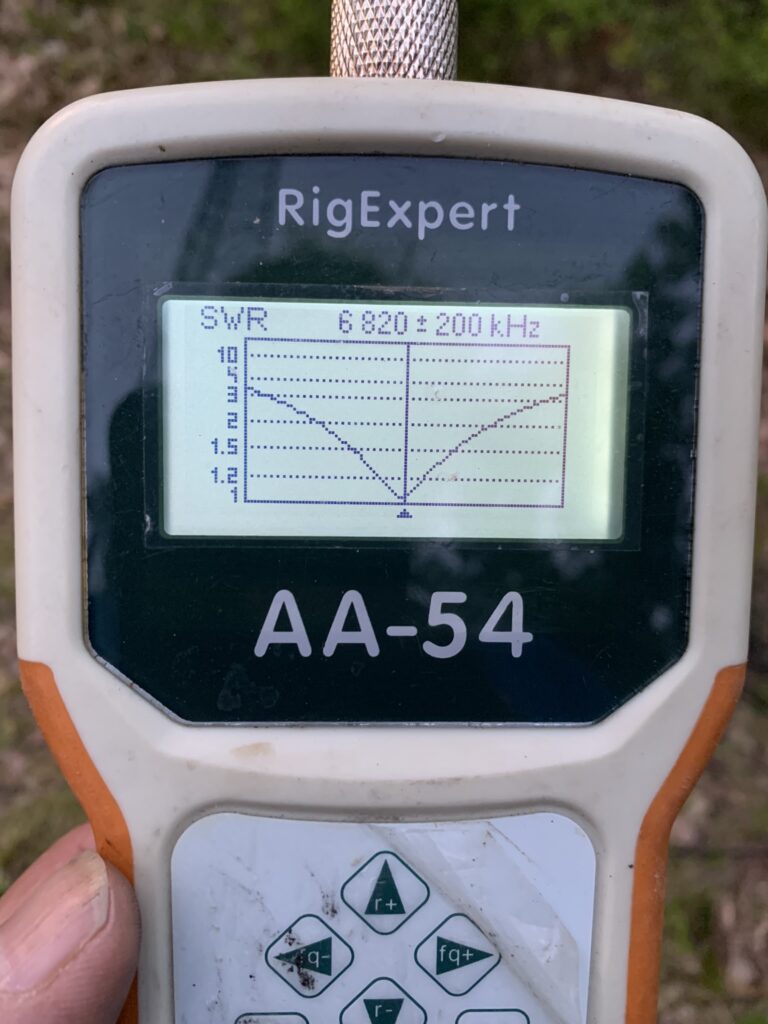
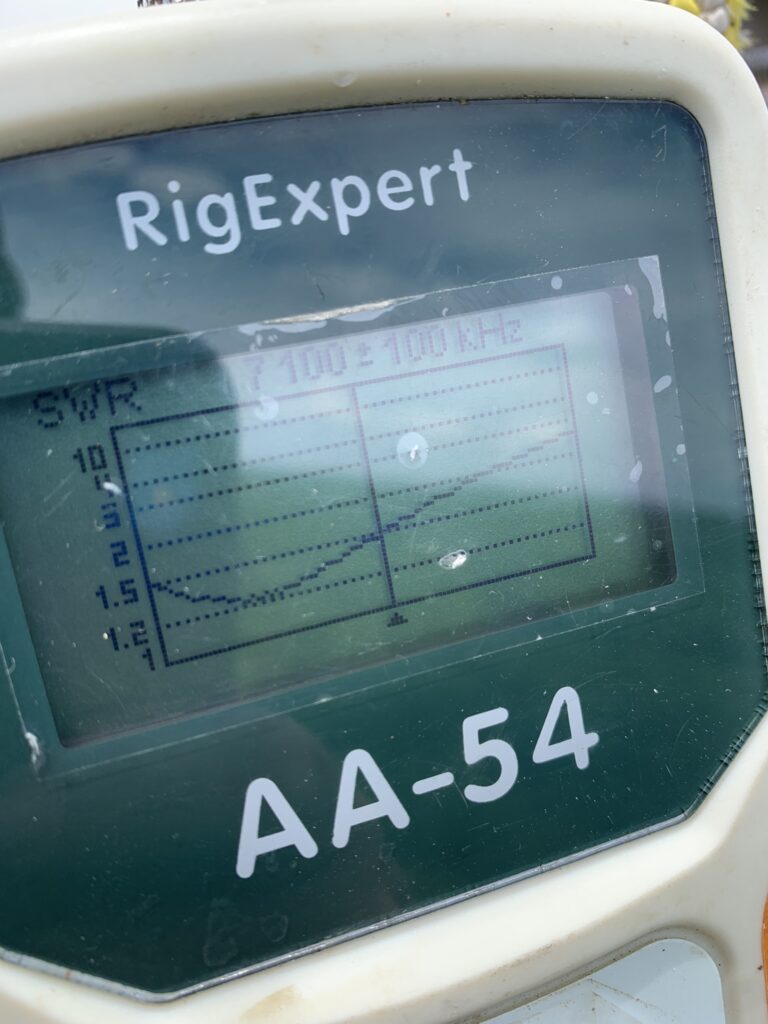
With the antenna secure, a call went out for the antenna analyzer to be sent up to see some early results. The SWR was very good, with the resonant frequency about 20 Khz lower than expected. Is it worth trying to adjust the driven element length?
Of course, once we think everything is done and are ready to declare success, I noticed a small problem with the way I assembled the driven element. It is shifted about 1/2″ to one side, making the feed point attachment uncomfortably close to the u-bolt. Maybe not a big problem, but the u-bolt was a bit crooked. This will get fixed during a future session when we are ready to raise up the 10-meter Yagi.
June 15, 2022
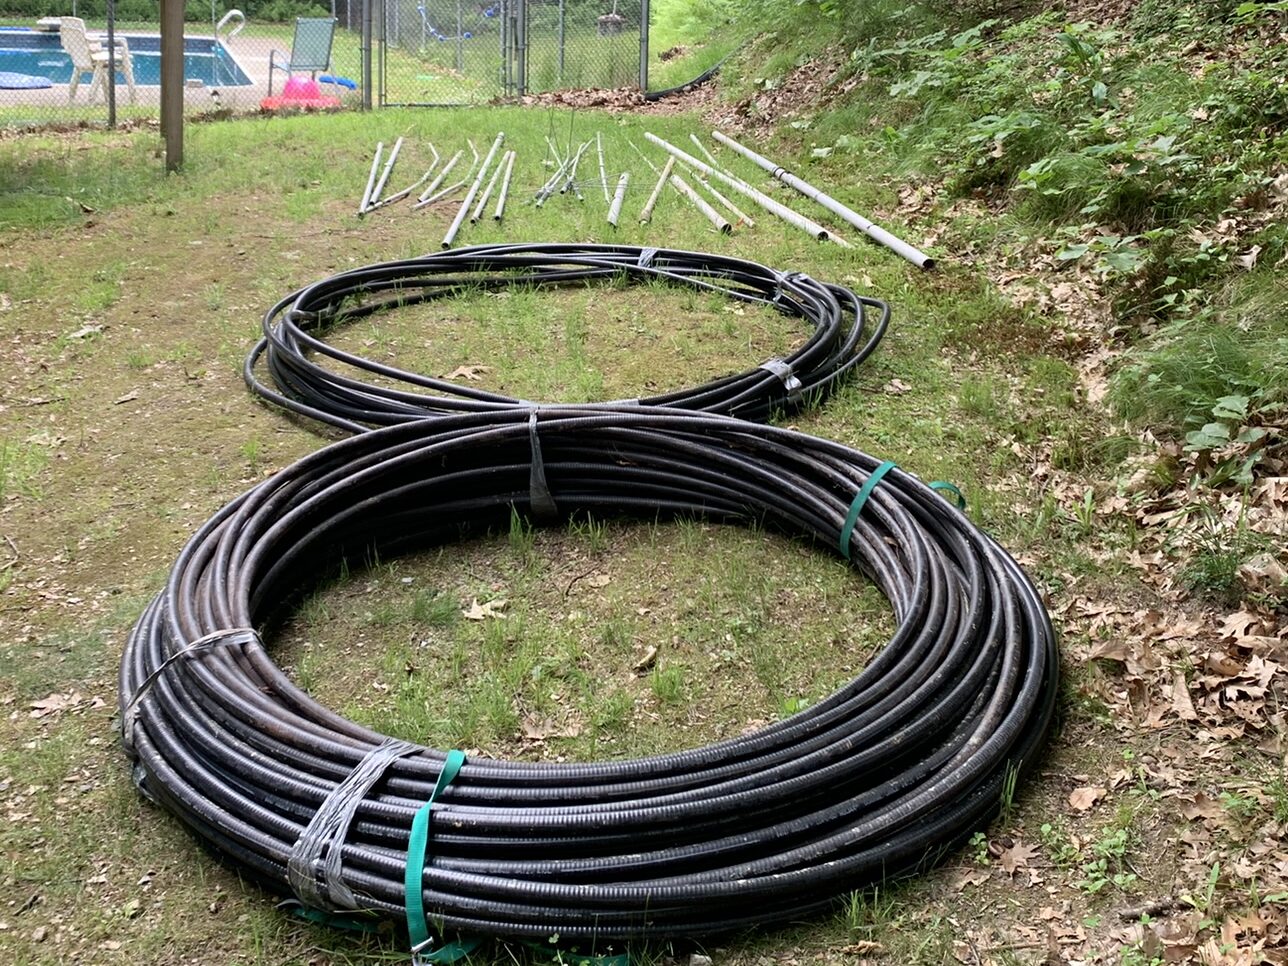
I was joined by Mark KA1YQC to make the trip up to K1AE to pick up some 7/8″ hardline and the remaining pieces of another 40-2CD. We were met there by John NN1SS who helped load things into the U-Haul.
This is some serious hardline. I just hope there is enough to get a single piece that goes from the shack to the 10m beams that will be on the new tower (250+ feet). And that I can find some connectors!
June 18, 2022
I was joined today by Martin AA1ON, John NN1SS, Mark KA1YQC, and Spence AB1HO. It was a very cool day for mid June with a high temperature expected only in the mid-’60s. We had a stiff breeze from the NW once I cleared the top of the trees.
The first job was to fix the 40m driven element mounting. Popped the 40 off the top of the mast and was easily able to get to the feed point and slide it over about half an inch. Then popped it back on.
We brought up the Yaesu G-2800 rotator so I wouldn’t have to untie the rope until it was installed. We then raised the mast. This went very well, except for the few times I made the ground crew back up a bit because I didn’t tie the rope in the right place or forgot to tape the coax as the 40-2CD went up. Once the mast cleared the rotator plate, I was able to insert the rotator easily into the tower. I had a bit of an incident while putting the bolts in. I had left them in the plastic bag as they came from Yaesu. At one point I turned my hand so the plastic back dumped a few bits. They fluttered to the ground and left me one bolt short of having all I needed. Argh!
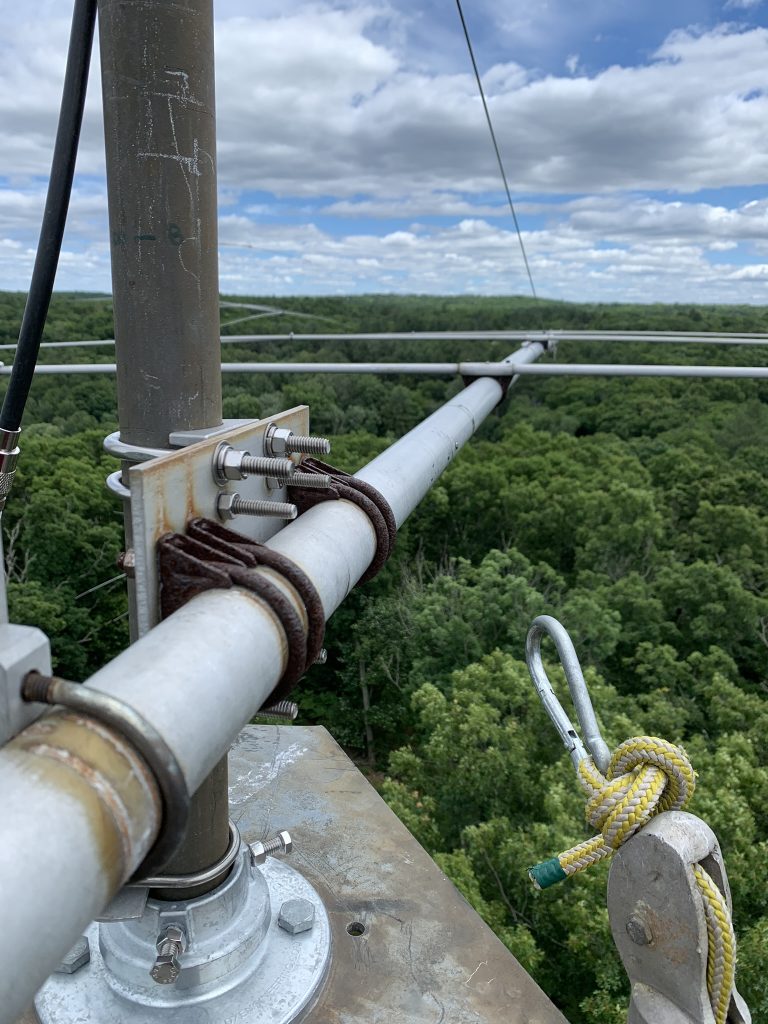
The DX Engineering thrust bearing to hold the mast at the top of the tower is a thing of beauty. But, the opening is slightly bigger than my 2″ steel mast. This put all of the weight on the 3 stainless steel bolts. Since the mast is so heavy, I didn’t want to take any chance it would slip. I added a safety u-bolt around the mast.

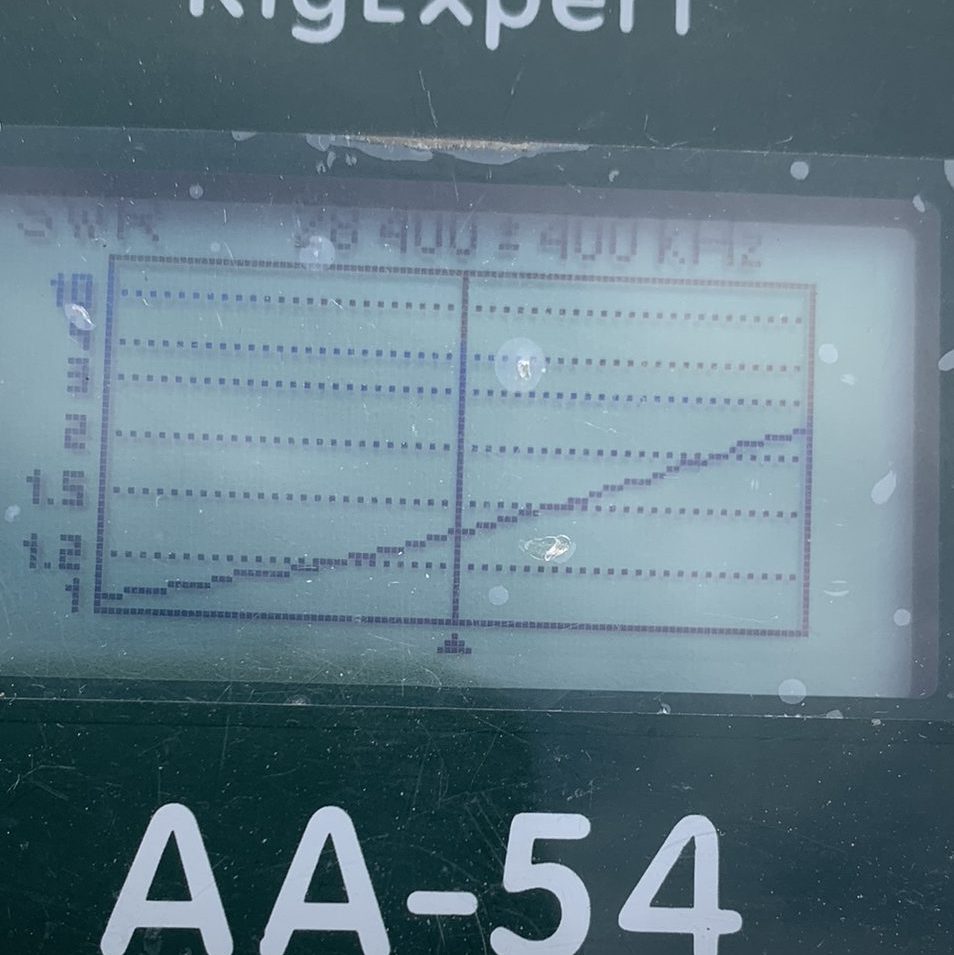
With the rotator secure, I climbed down for a break and to prep the 10m beam to go up. It was mostly ready, but I wanted to check the SWR before we got too far. Pulled the antenna up to about 20′ and the SWR minimum was way below the band. Not sure how that happened since the antenna was unchanged from how it came down 8 weeks earlier. We lowered the beam and started messing with the gamma match at the feed point. In the end, I think we shortened the driven element by 2″ or so on each side and moved the gamma shorting rod about a half inch. Looks much better on the AA-54, but not sure what we may have done to the performance…
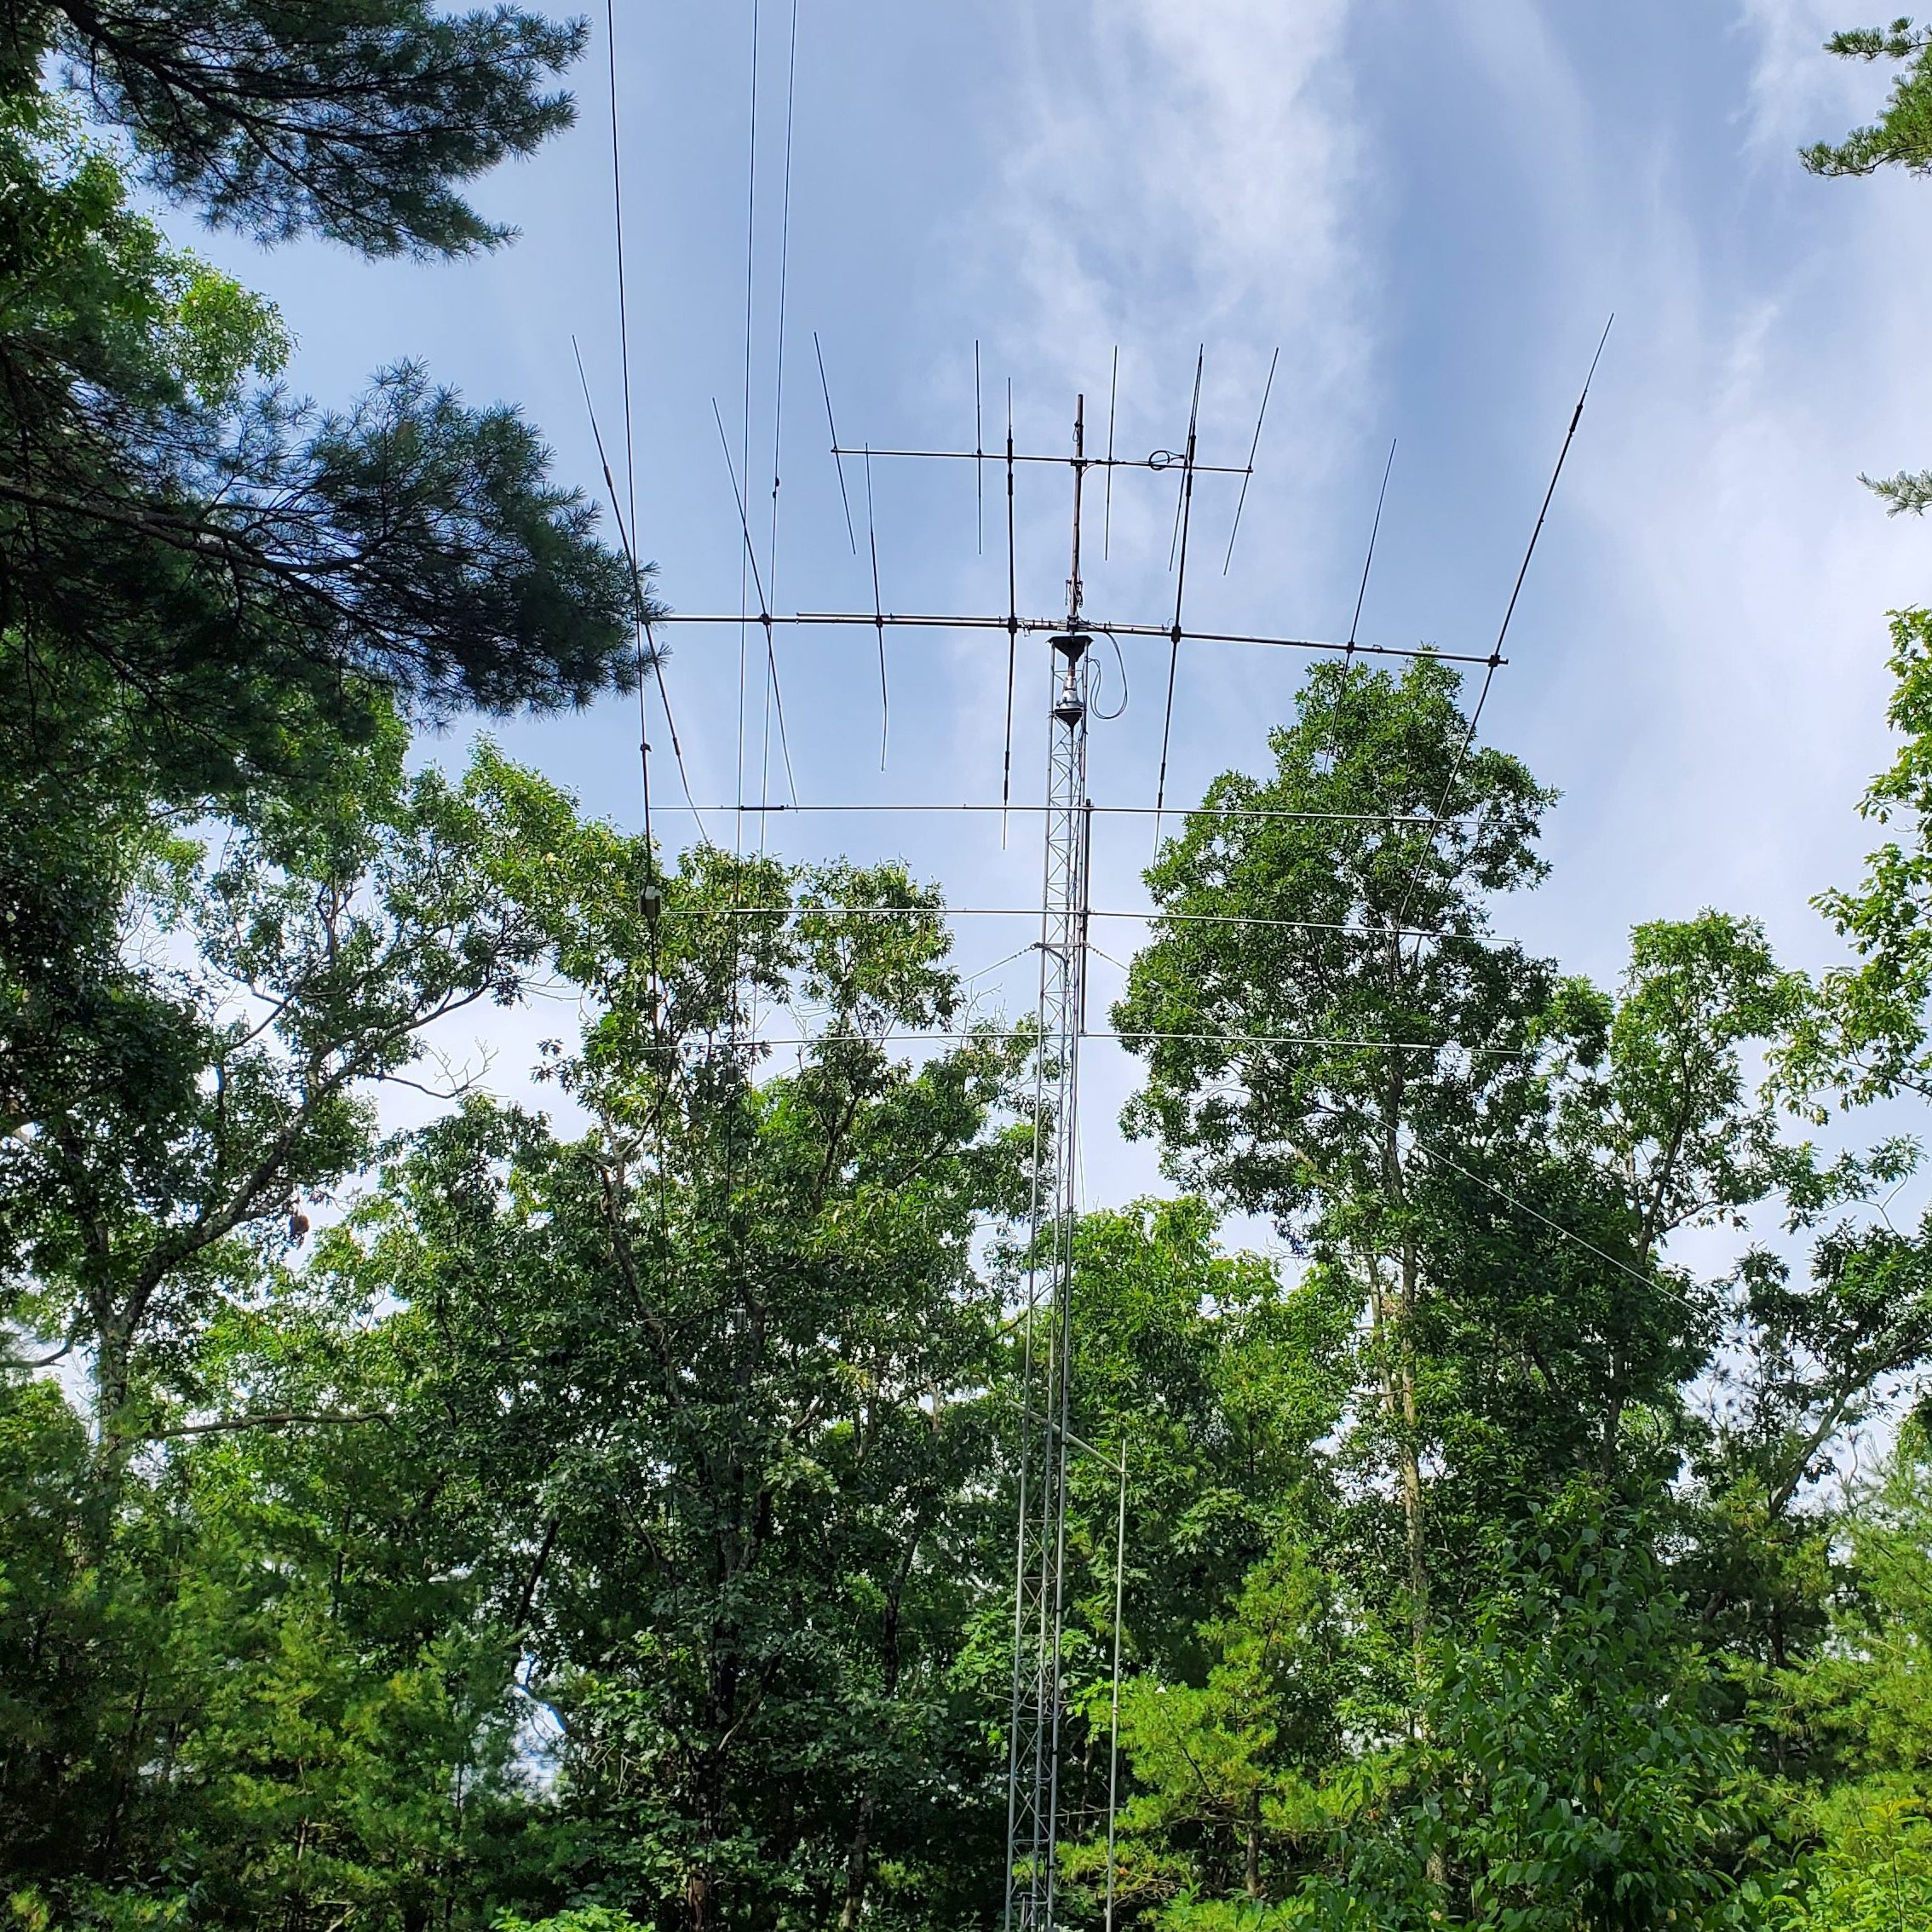
The antenna easily corkscrewed up the tower and was bolted to the mast.
Up came the antenna analyzer and it was great to see both antennas had the expected SWR.

It’s always nice to come off the tower and get to take that first look up to see the result.

The heavy work was done so we headed off to the local hamburger place to celebrate.
June 24, 2022
Dragged the rotator cable up the tower and connected the rotator. One continuous 350-foot piece of control cable to reach the shack. Was a bit disappointed to find the rotator would not turn. I had tested the full length of cable before I put it up, but maybe the wiring inside the connector at the rotator lost a wire… disappointed.
June 25, 2022
Field Day weekend. Perfect time to make progress on antennas. I spent some time trying to diagnose the rotator problem. Finally tracked it down to a connection at my cable panel where everything comes into the house. Argh. Very happy to see beams turning!
Inspired, I climbed the tower to run coax cables for the 10m and 40m beams down to ground level. These connected up to the existing cables back to the shack. Field Day offered the perfect test for the new antennas. 40m worked great. Unfortunately, 10m was stone cold dead. Not even an FT8 signal! On Sunday the band was open and the 10m was confirmed to be working.
July 1, 2022
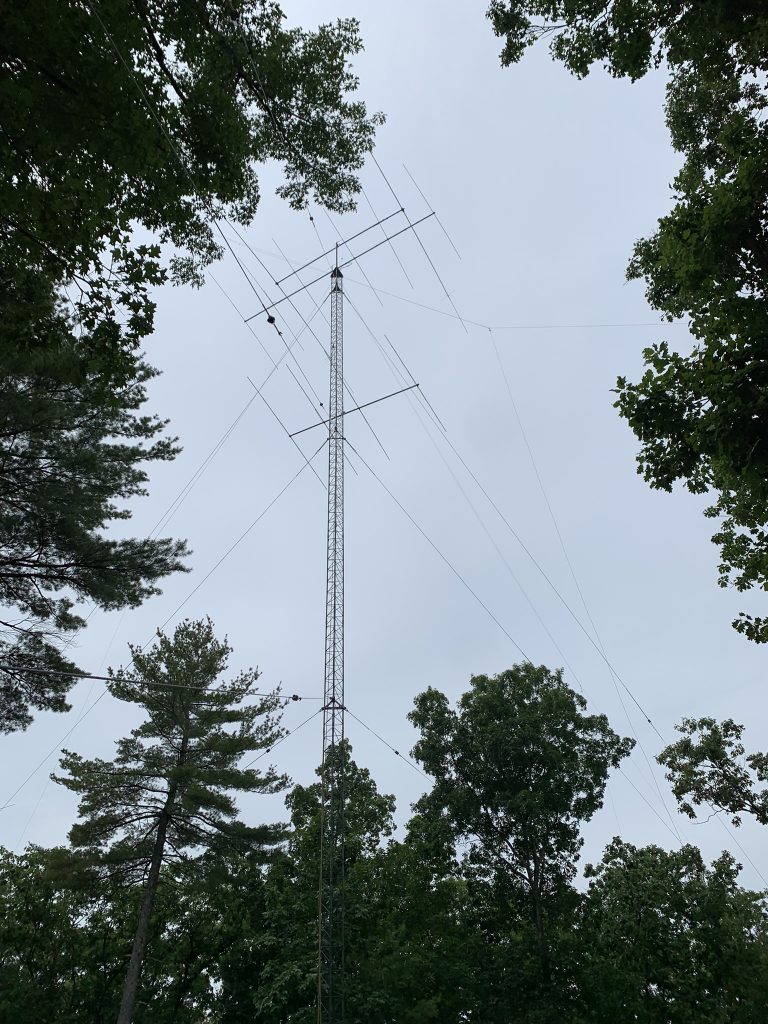
Mark KA1YQC came over to help get the 80m dipole reinstalled. This dipole goes between the two towers and required a bit of rope work to get the antenna tuned to the correct frequency and then worked around the trees. Nice to see a flat dipole at the 90′ level. This gets me back on all bands.
Mark also brought over a Cushcraft A3WS that he doesn’t need. This is a 12/17 meter duobander. I have never had antennas for those bands so excited to get it in the air and chase some new DXCC band credits.
July 4, 2022
Built the A3WS and made some QSOs on it at the 5′ level to confirm it was ready for action.
July 16, 2022
Mark KA1YQC came over today. The first task was to install the A3WS at the 30′ level on Tower 3. Decided not to put it at the top of this tower due to 1) concern about its wind survivability, and 2) don’t want to risk any interaction with the 10 and the 40.
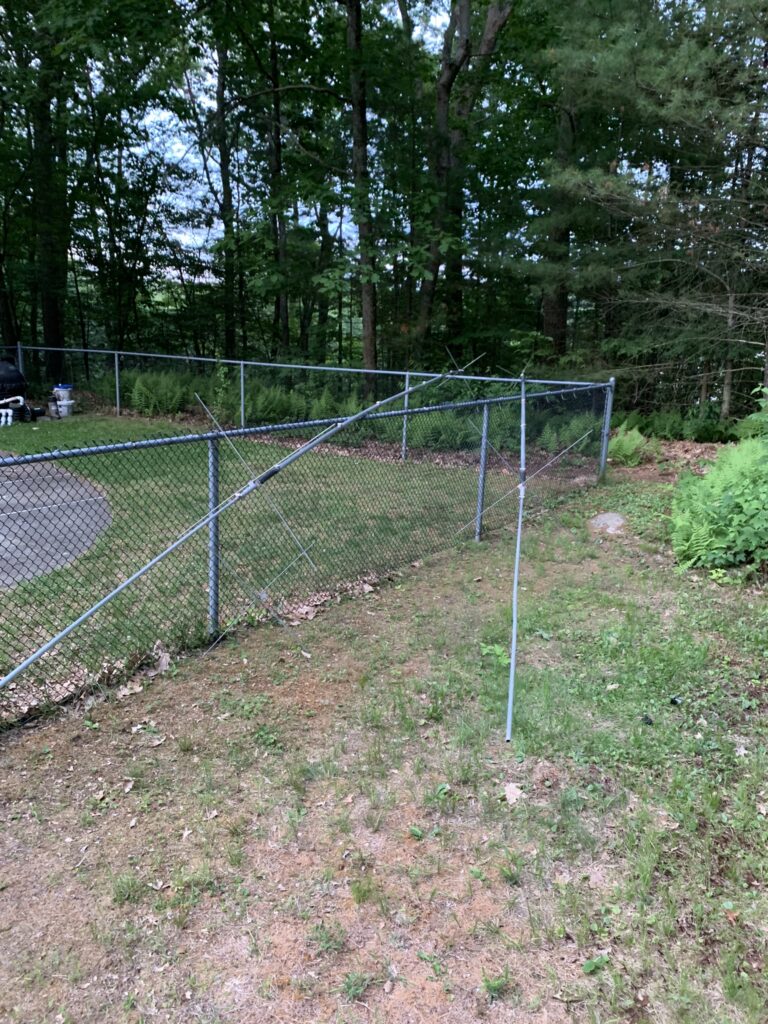
That decision freed us up to install the 80m 4 square rigging. This consists of running a rope out from the top of the tower in 4 directions and then using that to hold the top of the verticals. Can’t quite get enough height to make them vertical, but enough so they work.
We had just enough energy to confirm the tuning on a Cushcraft 4-element 10-meter beam and raise it to the 70′ level.
This post has gotten a bit long. Continue reading part 2.