Improving connections on 40-2CD loading coils
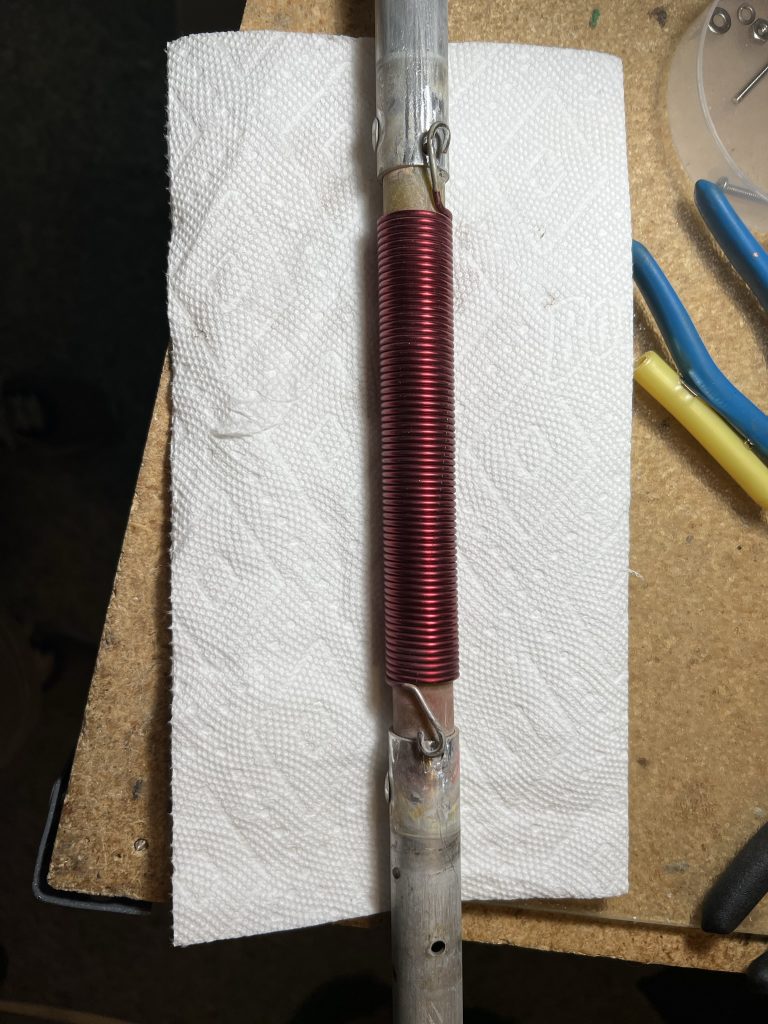
The Cushcraft 40-2CD and XM-240 use identical loading coils on the driven and reflector elements to help shorten the overall element length. The original design of the loading coils used a sheet metal screw to attach the wire coil to the aluminum element. Even though it is covered by heat shrink tubing, it becomes a point of failure when the sheet metal screw begins to corrode.
I recently rebuilt two 40-2CD antennas and had the need to renew the loading coil connections.
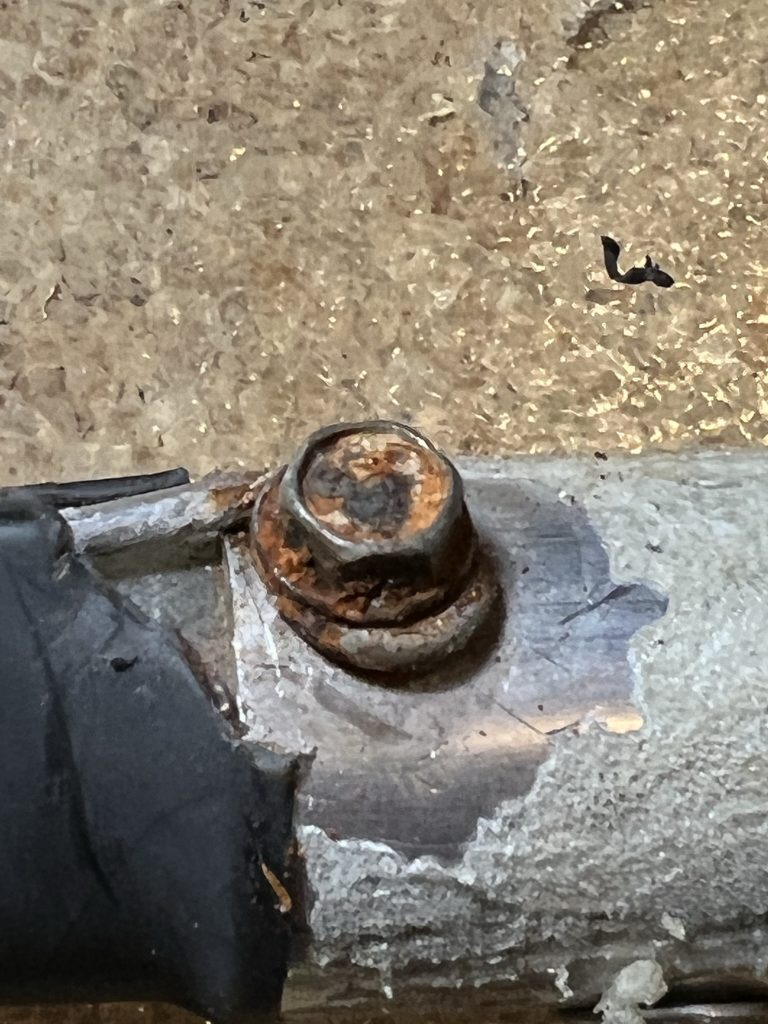
The first step is to remove the screw and clean everything up.
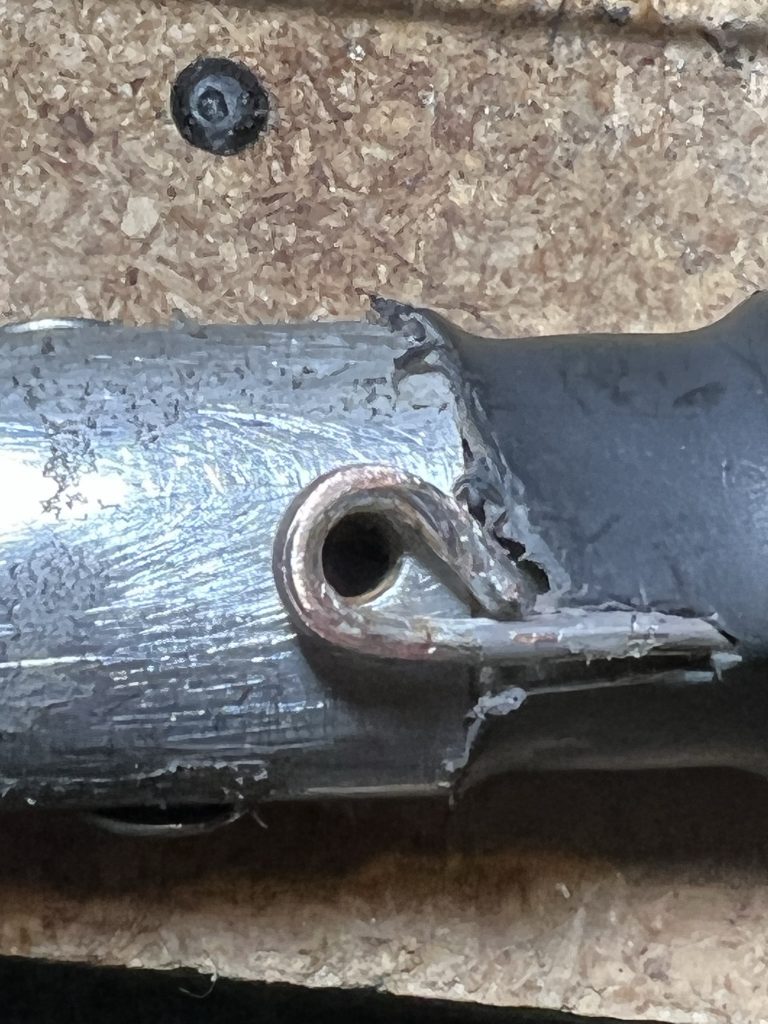
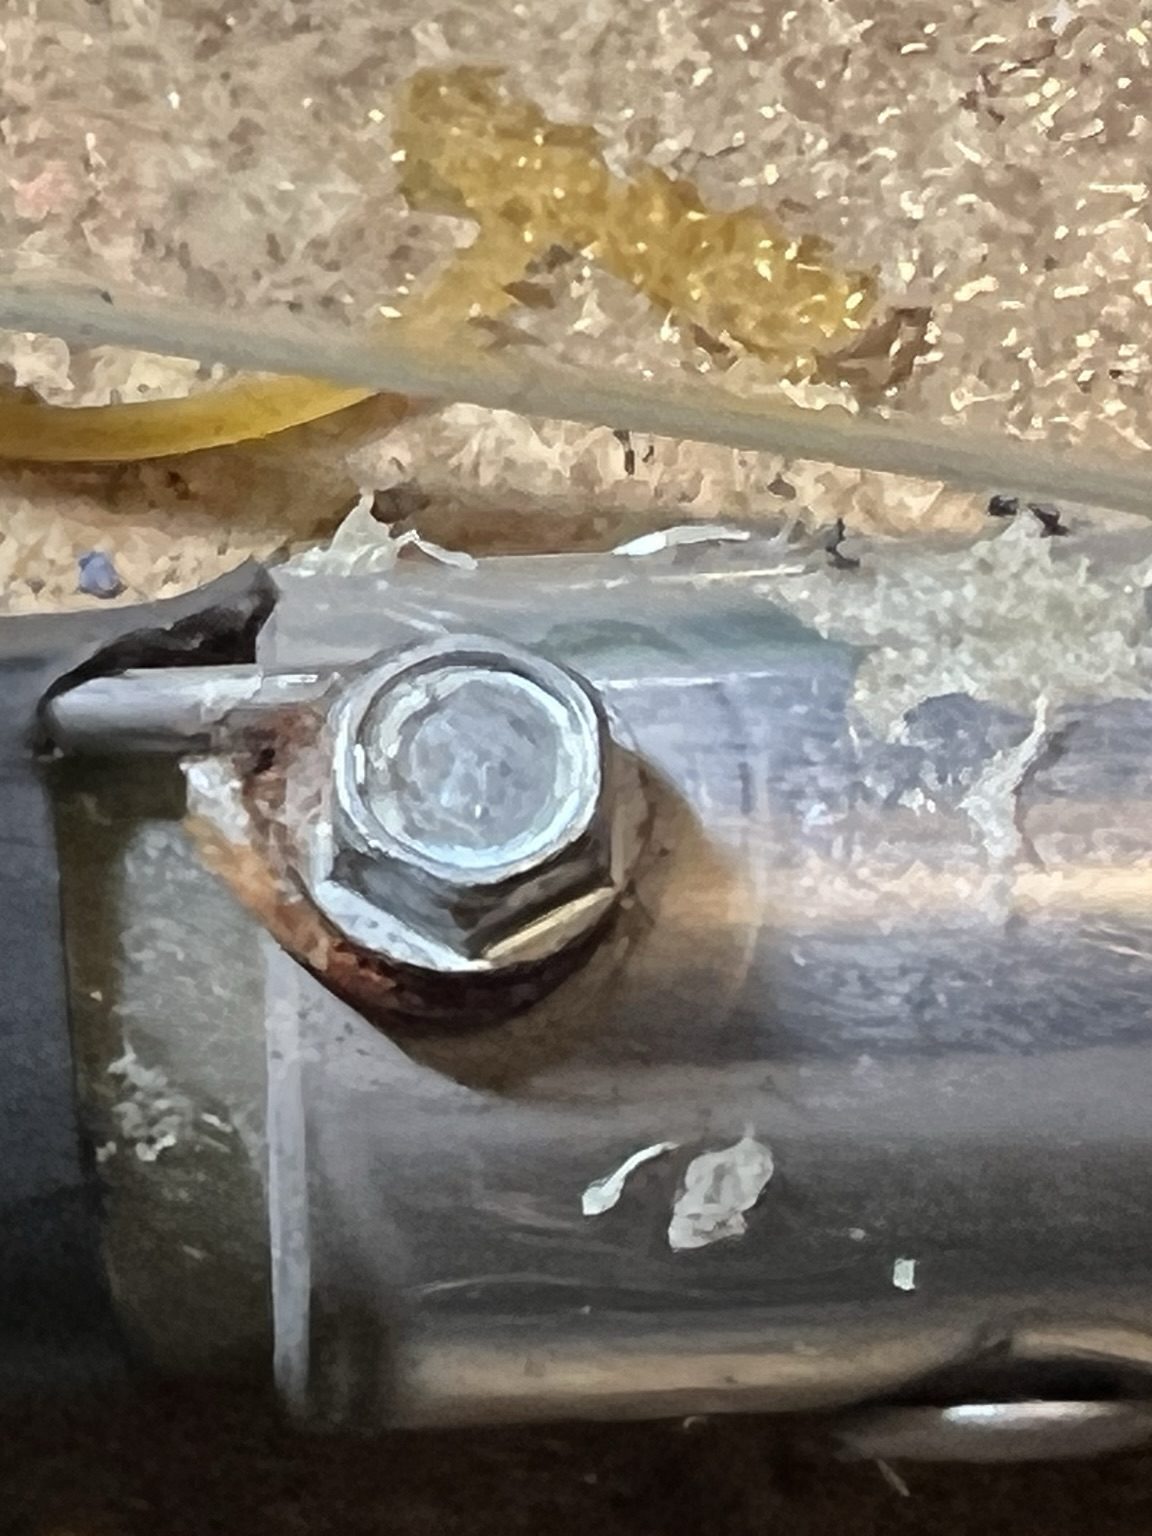
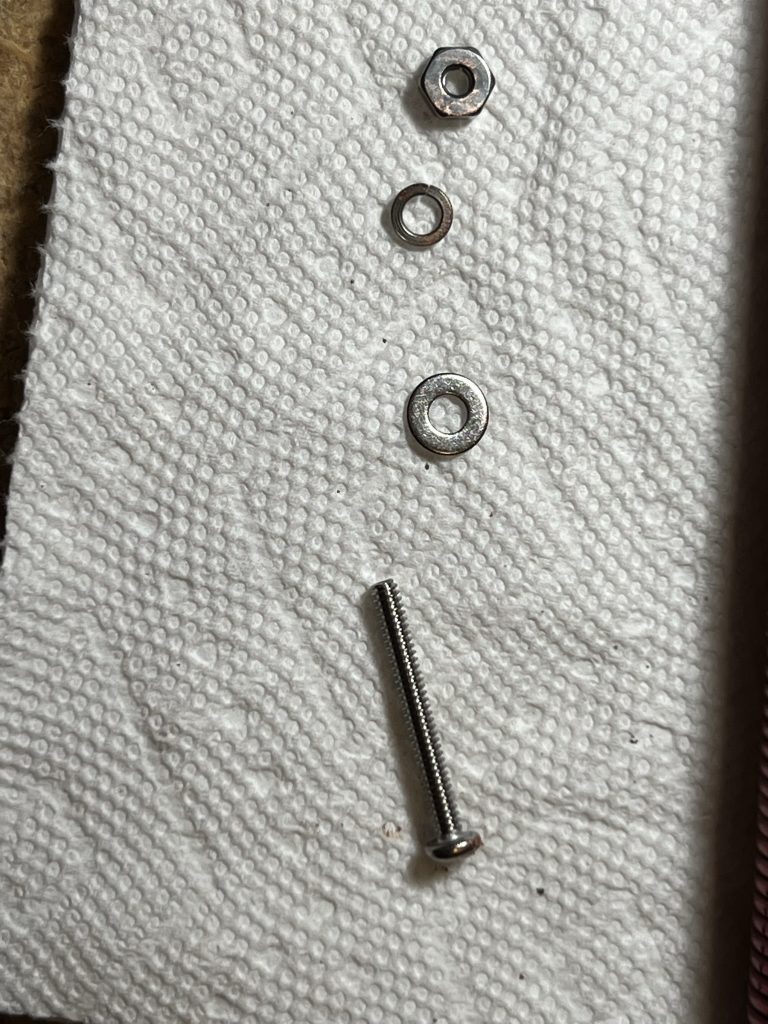
Drill a hole through the element. This will allow use of a stainless steel nut and bolt for a much more secure connection. I used a washer to help hold the wire. Also applied a dab of SS Jet-30 to improve conductivity.

I then used some rubber liner tape to wrap the connection point to make it as waterproof as possible.
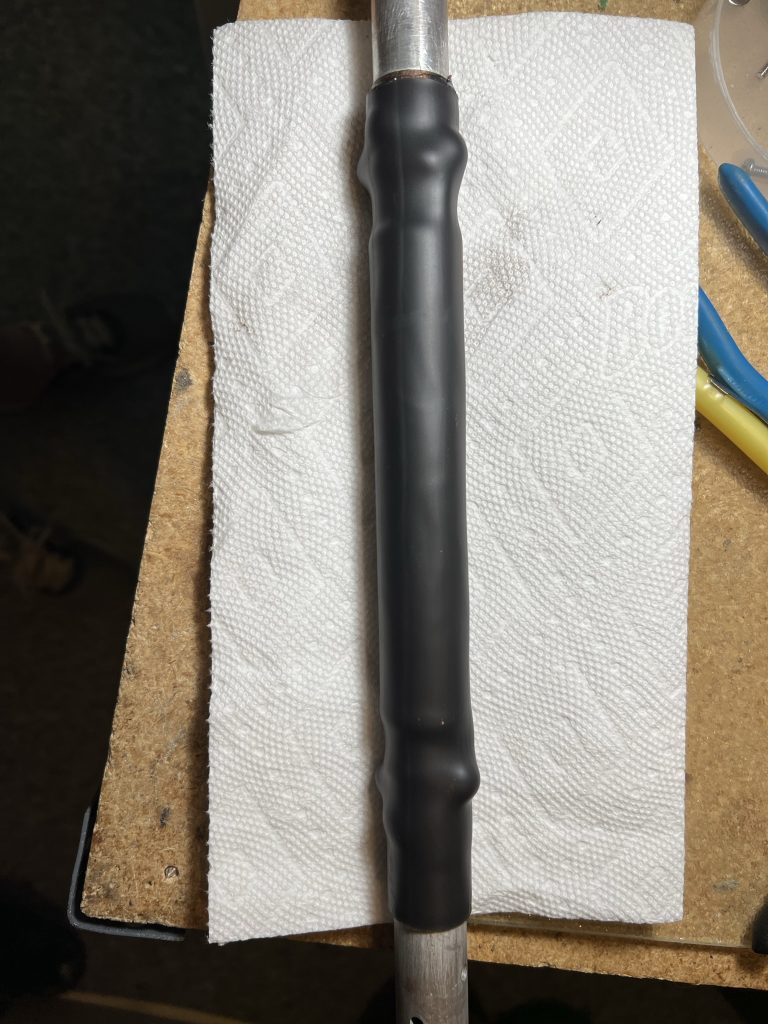
I then used some 1.25″ heat shrink tubing to cover the complete loading coil.
Simply repeat this process for each loading coil. This small effort will prevent a common failure point for the 40-2CD antenna.
Sorry I didn’t record all the part sizes that I purchased at the local hardware store, but here they are in a photo.
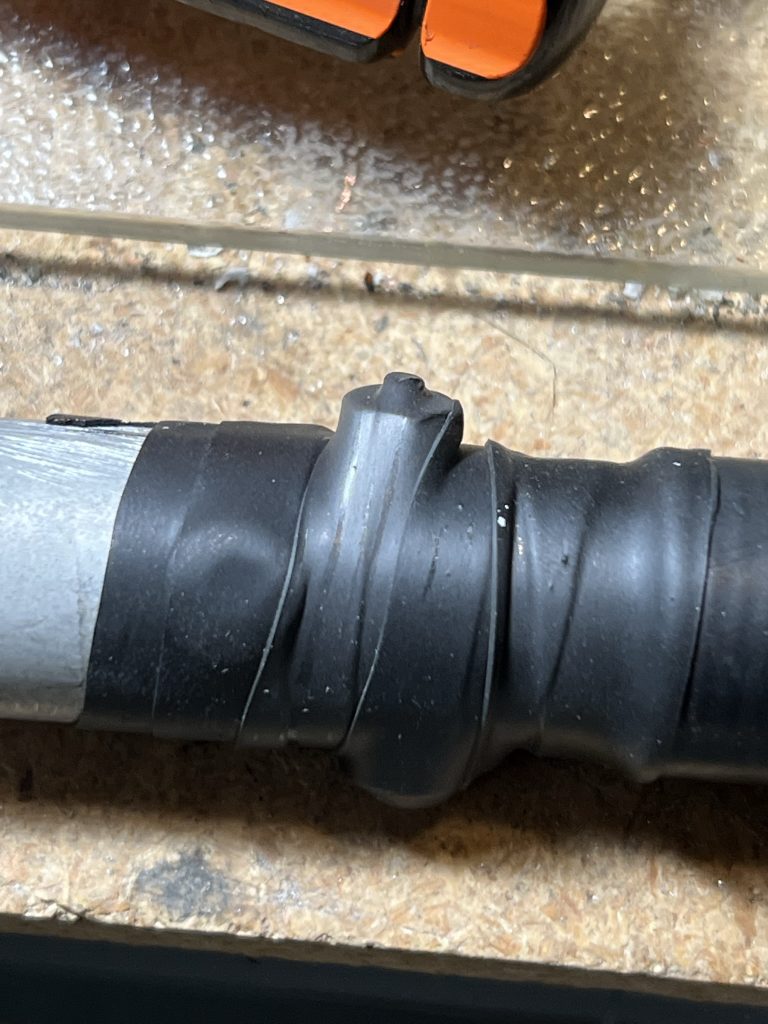
For reference, here is a loading coil with all of the shrink wrap tubing removed.